Streamlining Docker Images for Three-Tier Applications with Multi-Stage Builds and Deploying using Docker Compose


Table of contents
- Introduction:
- Creating a Multi-stage Dockerfile for backend
- Creating a Multi-stage Dockerfile for frontend
- Docker Compose
- Creating a Docker Compose File for the Three-Tier Application
- Preparing Environment Variables for Docker Compose Deployment
- And It's Done: Running Your Three-Tier Application with Docker Compose
- Conclusion:
Introduction:
In today's software development landscape, Docker has become integral to the deployment process, offering lightweight and portable containers for applications. However, managing Docker images efficiently poses challenges, particularly regarding their size.
Large Docker images not only consume more disk space but also increase deployment times and resource consumption. Enter multi-stage Docker builds, a powerful technique to optimize image size and streamline the build process.
Multi-stage builds separate the build environment from the runtime environment, allowing developers to include only necessary dependencies and artifacts in the final image. This approach is particularly crucial for complex applications like three-tier architectures.
In this blog, we'll explore the significance of multi-stage Docker builds in reducing image size and improving performance, especially for three-tier applications. We'll also delve into deploying such applications using Docker Compose, combining the efficiency of multi-stage builds with the convenience of container orchestration.
Let's discover how multi-stage Docker builds and Docker Compose enhance the development and deployment of three-tier applications while saving valuable resources.
Git Repository :
Git repository: https://github.com/krishnaacharyaa/wanderlust.git
After cloning the repository, you'll navigate to the backend directory and create a Dockerfile. Here are the steps:
# Clone the repository
git clone https://github.com/krishnaacharyaa/wanderlust.git

# Navigate to the backend directory
cd wanderlust/backend

# Create a Dockerfile
vim Dockerfile
Once you're inside the backend directory, you can create a Dockerfile using the Vim text editor.
Creating a Multi-stage Dockerfile for backend
This multi-stage Dockerfile optimizes the Docker image by separating the build environment from the runtime environment. Here's a description of each stage:
# Stage 1
FROM node:14 AS backend-builder

# Setup the working directory
WORKDIR /app

# Copy source code
COPY . .

# Install dependencies
RUN npm install

# Run tests
RUN npm run test

# Stage 2
FROM node:14-slim

# Setup the working directory
WORKDIR /app

# Copy built artifacts from the previous stage
COPY --from=backend-builder /app .

# Copy environment file
COPY .env.docker .env

# Expose port
EXPOSE 5000

# Command to run the application
CMD ["npm", "start"]
Stage 1 (backend-builder):
FROM node:21 AS backend-builder: This stage starts with a Node.js base image tagged as
node:21and names itbackend-builder.WORKDIR /app: Sets up the working directory inside the container as
/app.COPY . .: Copies all files from the current directory into the
/appdirectory in the container.RUN npm i: Installs the Node.js dependencies using npm.
RUN npm run test: Runs tests to ensure the backend code functions correctly.
Stage 2:
FROM node:21-slim: This stage starts with a slimmer Node.js base image tagged as
node:21-slim.WORKDIR /app: Sets up the working directory inside the container as
/app.COPY --from=backend-builder /app .: Copies the built artifacts from the previous stage (
backend-builder) into the current stage's/appdirectory.COPY .env.docker .env: Copies the
.env.dockerfile from the host into the container's root directory as.env.EXPOSE 5000: Exposes port 5000 to allow communication with the Node.js application.
CMD ["npm", "start"]: Specifies the default command to run when the container starts, which is to start the Node.js application using npm.
This Dockerfile efficiently builds the Docker image by first setting up a build environment, installing dependencies, and running tests in Stage 1. Then, in Stage 2, it creates a minimal runtime environment, copies only the necessary artifacts from Stage 1, and exposes the required port for the application to run. This approach helps reduce the final image size and improves Docker image build times.
Creating a Multi-stage Dockerfile for frontend
This multi-stage Dockerfile optimizes the Docker image by separating the build environment from the runtime environment, before creating this file cd to your frontend directory.
# ------------------- Stage 1: Build Stage ------------------------------
FROM node:21 AS frontend-builder

# Set the working directory to /app
WORKDIR /app

# Copy the package.json and package-lock.json for dependency installation
COPY package*.json ./

# Install dependencies
RUN npm install

# Copy the rest of the application code
COPY . .

# ------------------- Stage 2: Final Stage ------------------------------
FROM node:21-slim

# Set the working directory to /app
WORKDIR /app

# Copy built assets and dependencies from frontend-builder stage
COPY --from=frontend-builder /app .

# Copy the .env.sample file to .env.local
COPY .env.docker .env.local

# Expose port 5173 for the Node.js application
EXPOSE 5173

# Define the default command to run the application in development mode
CMD ["npm", "run", "dev", "--", "--host"]
Stage 1 (frontend-builder):
FROM node:21 AS frontend-builder: This stage starts with a Node.js base image tagged as
node:21and names itfrontend-builder.WORKDIR /app: Sets up the working directory inside the container as
/app.COPY package.json ./*: Copies the package.json and package-lock.json files into the container for dependency installation.
RUN npm install: Installs the frontend dependencies using npm.
COPY . .: Copies the rest of the application code into the container.
Stage 2:
FROM node:21-slim: This stage starts with a slimmer Node.js base image tagged as
node:21-slim.WORKDIR /app: Sets up the working directory inside the container as
/app.COPY --from=frontend-builder /app .: Copies the built assets and dependencies from the previous stage (
frontend-builder) into the current stage's/appdirectory.COPY .env.docker .env.local: Copies the .env.docker file from the host into the container's root directory as .env.local.
EXPOSE 5173: Exposes port 5173 to allow communication with the Node.js application.
CMD ["npm", "run", "dev", "--", "--host"]: Defines the default command to run the application in development mode using npm.
This Dockerfile follows the same multi-stage build pattern as the backend Dockerfile to optimize image size and improve build efficiency for the frontend application.
Docker Compose
Docker Compose simplifies the orchestration of multi-container Docker applications, allowing developers to define and manage complex application environments in a single YAML file. By specifying services, networks, and volumes, Docker Compose automates the deployment process, streamlining development workflows and ensuring consistency across different environments. With its intuitive syntax and powerful features, Docker Compose abstracts away the complexities of container orchestration, enabling teams to focus on building and deploying applications quickly and efficiently. Its role extends to facilitating collaboration, improving scalability, and enhancing portability, making it an indispensable tool in modern containerized application development.
To install Docker Compose, you can follow these steps:
Download the Docker Compose binary:
sudo curl -L "https://github.com/docker/compose/releases/latest/download/docker-compose-$(uname -s)-$(uname -m)" -o /usr/local/bin/docker-composeApply executable permissions to the binary:
sudo chmod +x /usr/local/bin/docker-composeVerify the installation:
docker-compose --version
This command will download the latest version of Docker Compose binary and place it in the /usr/local/bin directory, making it available system-wide. Finally, the docker-compose --version command verifies that Docker Compose is installed correctly and displays its version information.
Creating a Docker Compose File for the Three-Tier Application
Docker Compose is a powerful tool for defining and running multi-container Docker applications. It simplifies the process of managing complex applications by allowing you to define all the services and their configurations in a single YAML file.
To deploy our three-tier application consisting of a backend, frontend, and MongoDB database server using Docker Compose, we'll create a docker-compose.yml file in the main directory of our project.
yamlCopy codeversion: "3.8"

services:
  mongodb:
    container_name: mongo
    image: mongo:latest
    volumes:
      - ./backend/data:/data
    ports:
      - "27017:27017"

  backend:
    container_name: backend
    build: ./backend
    env_file:
      - ./backend/.env.docker
    ports:
      - "5000:5000"
    depends_on:
      - mongodb

  frontend:
    container_name: frontend
    build: ./frontend
    env_file:
      - ./frontend/.env.docker
    ports:
      - "5173:5173"

  redis:
    container_name: redis
    restart: unless-stopped
    image: redis:7.0.5-alpine
    expose:
        - 6379
    depends_on:
      - mongodb

volumes:
  data:
In this Docker Compose file:
We define four services:
mongodb,backend,frontend, andredis, each representing a component of our three-tier application.The
mongodbservice uses the official MongoDB image and mounts a volume to persist data in the./backend/datadirectory on the host machine.The
backendservice builds the backend application using the Dockerfile located in the./backenddirectory. It also specifies an environment file.env.dockerto provide environment variables to the container.The
frontendservice builds the frontend application using the Dockerfile located in the./frontenddirectory. Similar to the backend, it also specifies an environment file.env.docker.The
redisservice uses the official Redis image and exposes port6379for communication. It depends on themongodbservice.Lastly, we define a named volume
datato persist MongoDB data.
With this Docker Compose file, we can easily deploy our three-tier application with a single command, simplifying the development and deployment process significantly.
Preparing Environment Variables for Docker Compose Deployment
Before running docker-compose up, ensure that the environment variables are correctly configured for both the backend and frontend services. In your case, you've created a new environment file named .env.docker for both services. Here's how you can set the environment variables:
For Backend: Create or modify the .env.docker file in the backend directory with the following content:
MONGODB_URI="mongodb://mongo/wanderlust"
REDIS_URL="redis://redis:6379"
Ensure that the MONGODB_URI points to the MongoDB service (mongo) defined in your Docker Compose file and the REDIS_URL points to the Redis service (redis). These environment variables will be used by the backend application to connect to the MongoDB database and Redis server.
For Frontend: Create or modify the .env.docker file in the frontend directory with the following content:
VITE_API_PATH="http://<ipaddress>:5000"
Replace <ipaddress> with the actual IP address where your backend service will be running. This environment variable will be used by the frontend application to define the API path for communicating with the backend service.
Once you've configured the environment variables in the .env.docker files, you can proceed to run docker-compose up to start the containers. Docker Compose will automatically use these environment files to inject the necessary variables into the container environments, ensuring seamless communication between services.
And It's Done: Running Your Three-Tier Application with Docker Compose
With all configurations in place, deploying your three-tier application becomes a breeze. Simply run the following command:
bashCopy codedocker-compose up
Docker Compose will orchestrate the deployment process, spinning up containers for the MongoDB database, backend server, frontend application, and Redis server as defined in the docker-compose.yml file. It automatically pulls the necessary Docker images, builds any services that require it, and sets up the networking between containers.
Once the deployment process is complete, you'll see logs from each service indicating their status. At this point, your three-tier application is up and running, ready to serve requests.
By using docker-compose up, you've abstracted away the complexities of managing multiple containers and dependencies. This single command streamlines the deployment process and ensures consistency across different environments, making it easy to deploy your application locally, on staging servers, or in production environments.
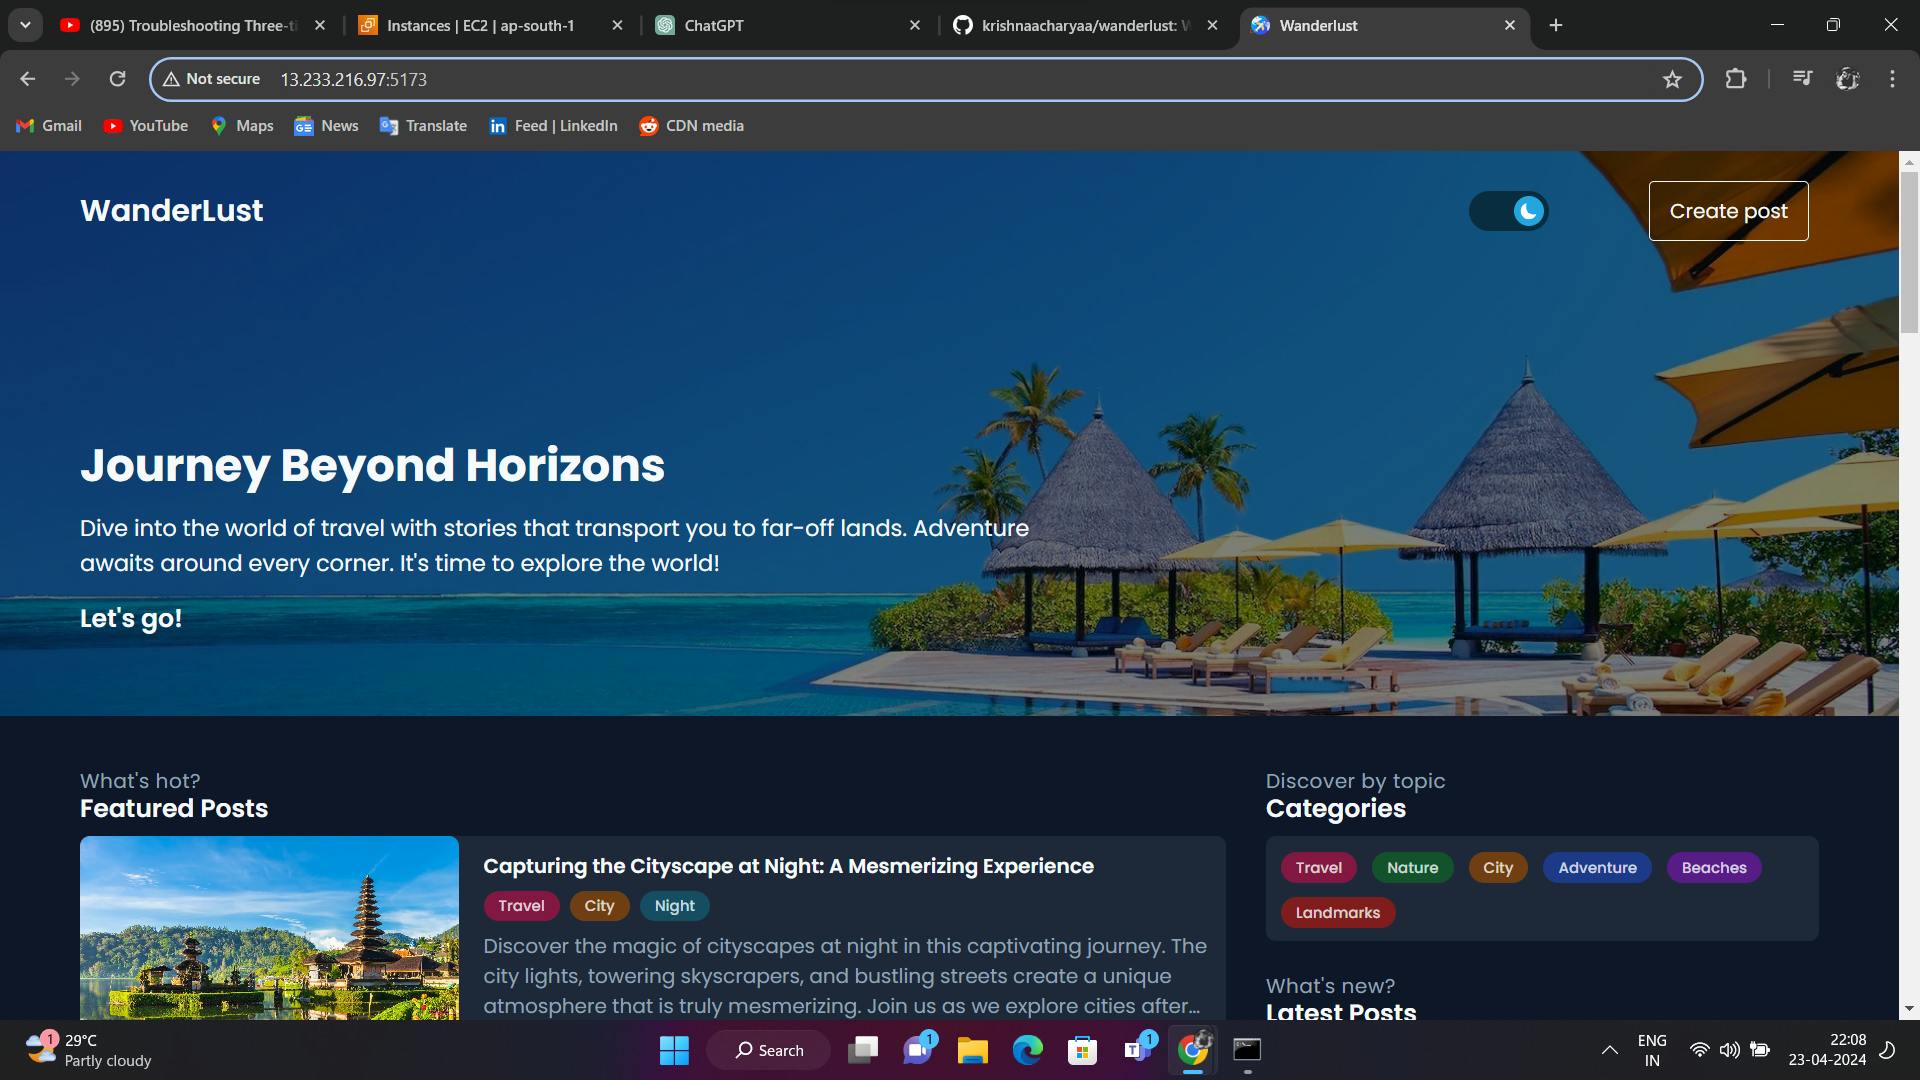
So go ahead, give it a try! Execute docker-compose up and witness your three-tier application come to life within seconds.
Check the docker containers running :
docker ps
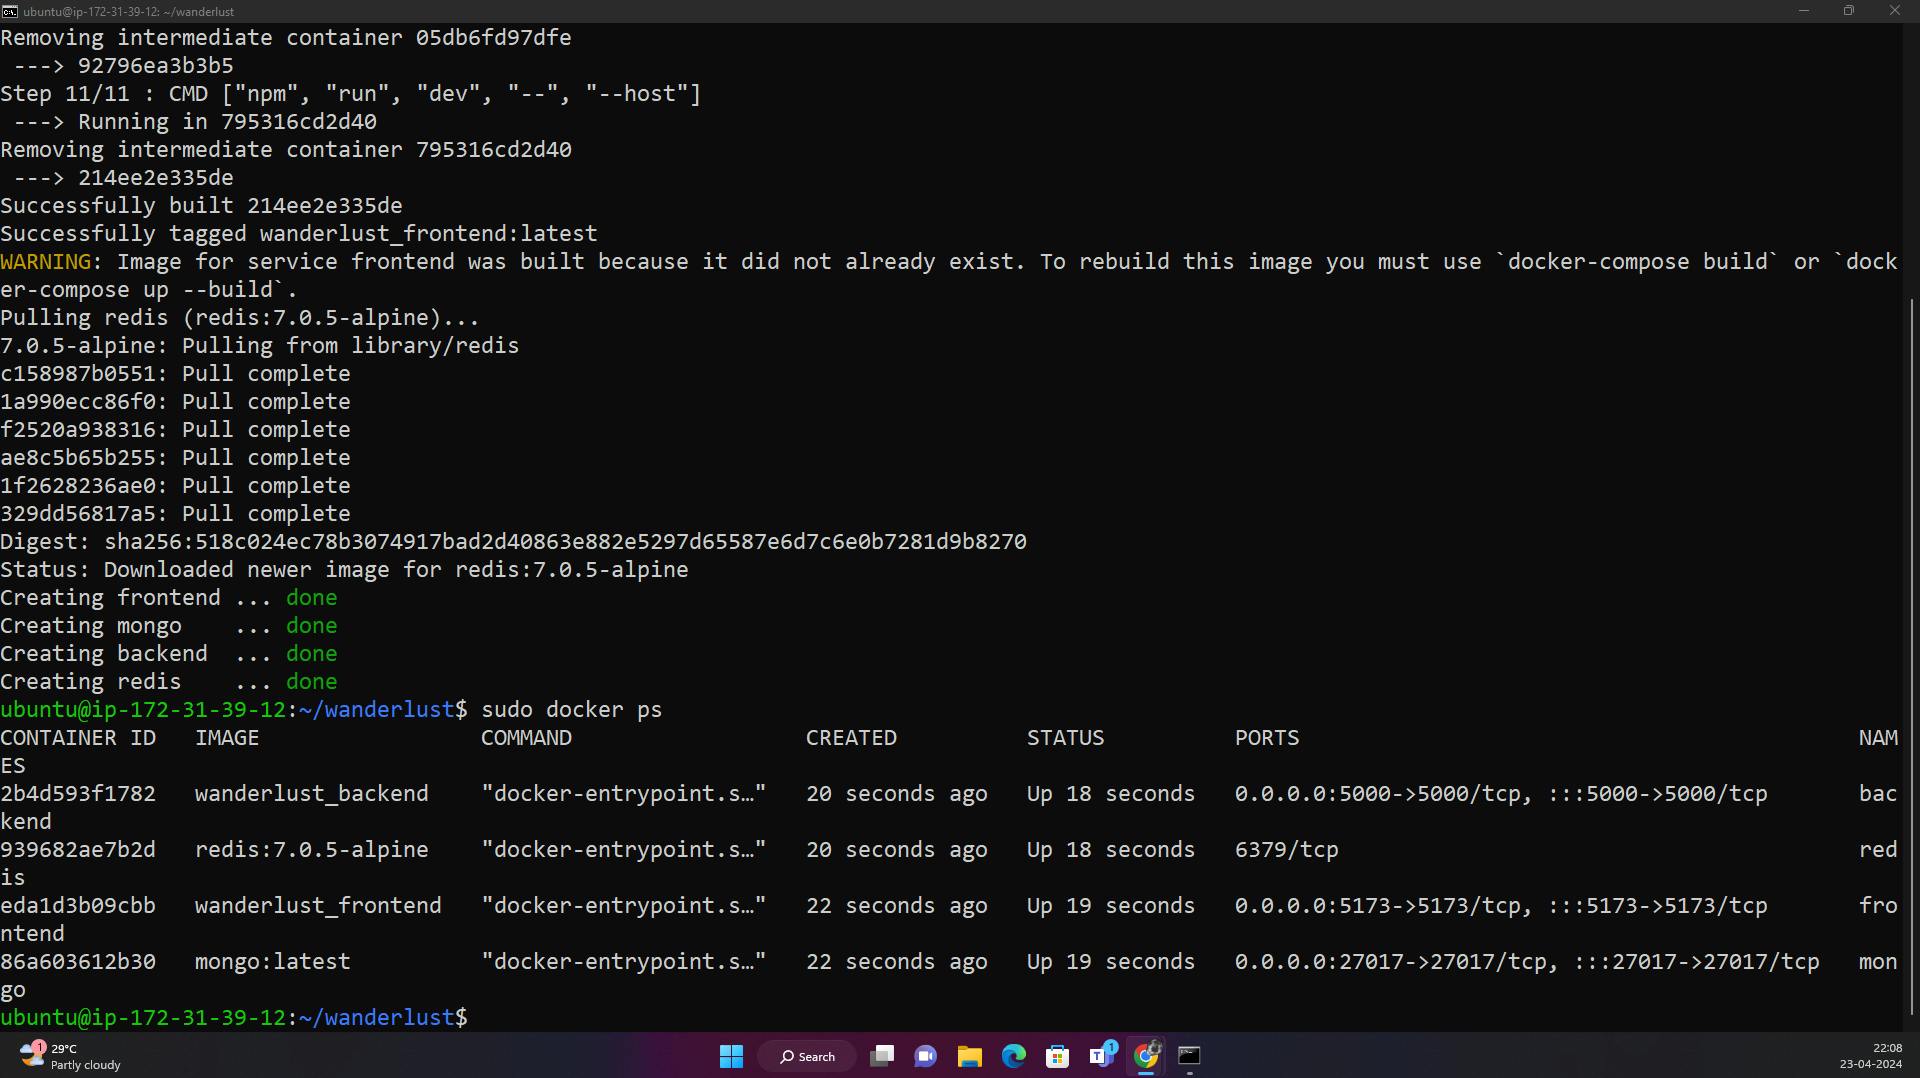
your Three-tier Application will be running on port 5173
Conclusion:
In this journey through Docker multi-stage builds and Docker Compose, we've explored powerful tools that streamline the development and deployment of complex applications. Multi-stage builds allow us to optimize Docker images, reducing their size and improving efficiency. Docker Compose, on the other hand, simplifies the orchestration of multi-container applications, enabling us to define, manage, and deploy our three-tier application with ease.
By leveraging these tools, developers can accelerate the development lifecycle, enhance collaboration, and ensure consistency across different environments. Docker multi-stage builds and Docker Compose abstract away the complexities of containerization and orchestration, empowering teams to focus on building robust, scalable, and portable applications.
Whether you're a seasoned developer or just getting started with containerization, incorporating Docker multi-stage builds and Docker Compose into your workflow can revolutionize the way you develop and deploy applications. So, embrace these tools, experiment with their capabilities, and embark on a journey towards more efficient and reliable software development practices.
I believe this blog will offer some value, providing unique insights and sharing new and engaging ideas. 🙏
😊 Your support means a lot, so stay tuned for more!
Happy Learning 😊