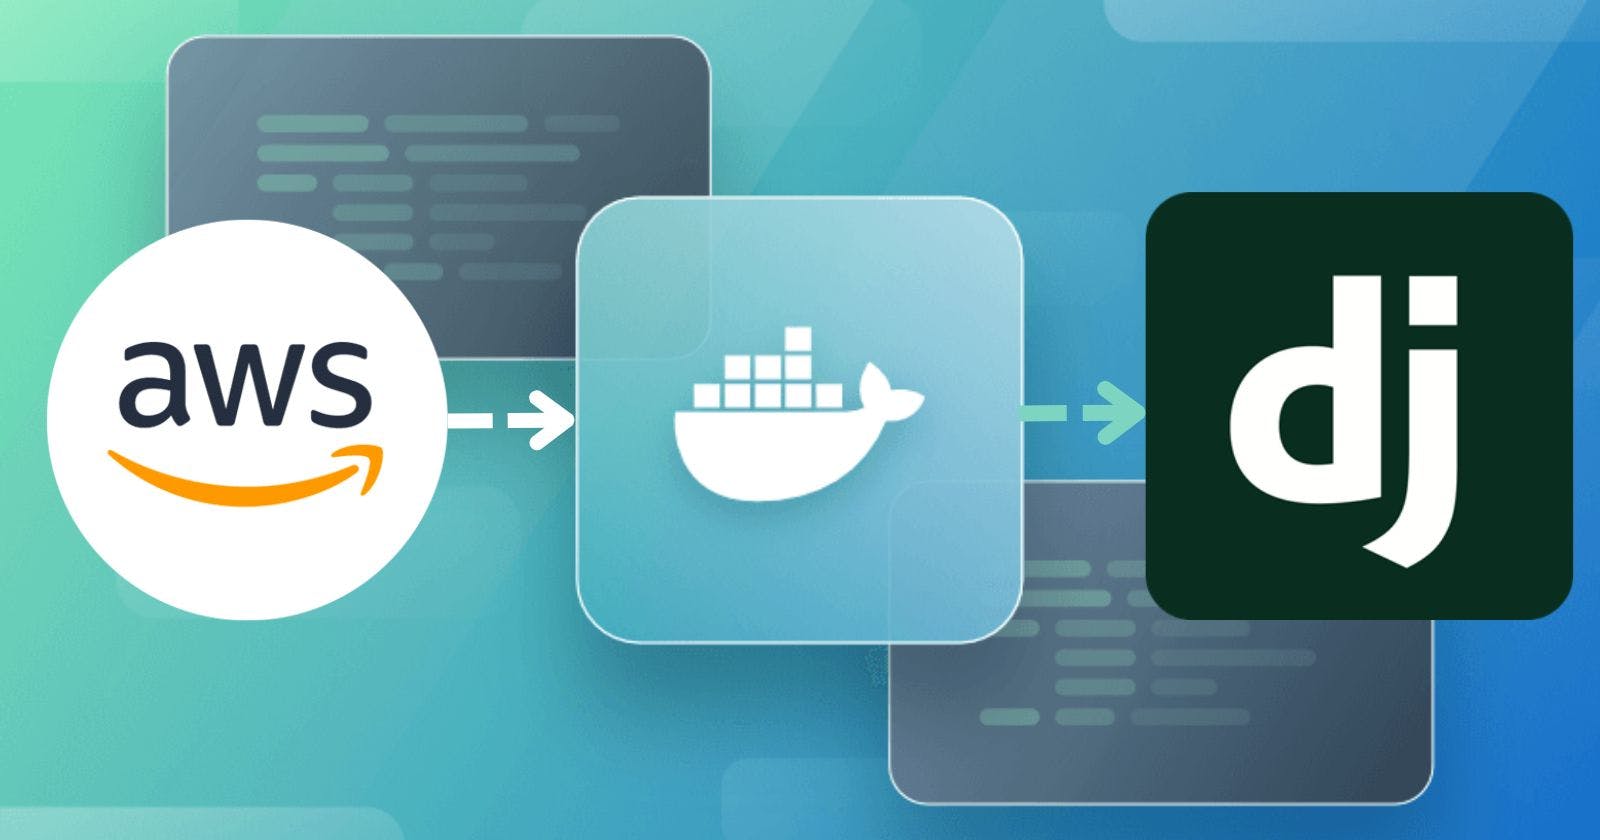
Streamlined Django Deployment with Docker:
Harnessing the Power of Containers
➡️Introduction:
Docker has revolutionized the way developers approach deployment by providing a lightweight and portable solution for containerizing applications. When paired with Django, a robust Python web framework, Docker offers unparalleled convenience and efficiency in deploying web applications. In this comprehensive guide, we'll walk through deploying a Django todo application on an Ubuntu server hosted on Amazon Web Services (AWS) using Docker.
➡️Advantages of Docker
Docker offers numerous advantages for deployment:
Consistency: Docker containers ensure consistency across different environments, eliminating the "it works on my machine" problem.
Isolation: Each Docker container encapsulates dependencies, preventing conflicts between applications and enabling seamless scaling.
Portability: Docker containers can run on any platform that supports Docker, facilitating deployment across various environments.
Efficiency: Docker's lightweight nature optimizes resource utilization, leading to faster deployment and reduced overhead.
➡️Steps to Deploy Django App
🟢Step 1: Setting Up Your Ubuntu Server on AWS Begin by accessing your AWS Management Console and navigating to the EC2 dashboard. Launch an Ubuntu Server instance, ensuring you select the appropriate region and instance type. Configure SSH access using a key pair for secure connections.
🟢Step 2: Installing Docker Once your instance is up and running, establish an SSH connection and install Docker. Update the package index and install Docker with the following commands:
sudo apt update
sudo apt install docker.io
Verify the Docker installation:
bashCopy codedocker --version
🟢Step 3: Pulling Code from GitHub Before proceeding with the Docker setup, pull the code for your Django todo application from a GitHub repository. Navigate to your desired directory and execute the git clone command:
bashCopy codegit clone https://github.com/Shubham-Stunner/django-todo.git
🟢Step 4 : Embracing Docker for Django Deployment Craft a Dockerfile within your Django project directory to define the environment and dependencies:
DockerfileCopy code# Use an official Python 3 runtime as the base image
FROM python:3

# Install Django
RUN pip install django==3.2

# Copy project files to the working directory
COPY . .

# Run Django migrations
RUN python manage.py migrate

# Specify the command to run the Django development server
CMD ["python", "manage.py", "runserver", "0.0.0.0:8000"]
🟢Step 5: Building and Running the Docker Image Build the Docker image using:
docker build -t my-django-app .
🟢Step6: Then run the Docker container:
docker run -d -p 8000:8000 my-django-app
Accessing Your Django Todo Server: To access your Django todo server, ensure inbound rules allow traffic on port 8000 (custom TCP). Once configured, you can access your server using the public IP address of your AWS instance. Simply enter the IP address followed by :8000 in your web browser to interact with your Django todo application.

➡️Conclusion
By leveraging Docker for Django deployment, you've unlocked a streamlined and efficient approach to hosting web applications. Docker's containerization capabilities simplify deployment, offering consistency, scalability, and portability for your Django projects. As you continue to explore Docker and Django, experiment with additional features and deployment strategies to optimize your web development workflow. Happy coding, and may your Django deployments be as smooth as your Docker containers!
I believe this blog will offer some value, providing unique insights and sharing new and engaging ideas. 🙏
😊 Your support means a lot, so stay tuned for more!
Happy Learning 😊
