Accelerate Deployment: Jenkins CI/CD Pipeline Configuration with Docker Compose and Declarative Method on AWS


Table of contents
- Introduction:
- Prerequisites:
- Step 1: Creating an EC2 Instance:
- Step 2: Installing Java and Jenkins:
- Run the below commands to install Java and Jenkins
- Login to Jenkins using the below URL:
- Click on Install suggested plugins
- Step 4: Installing Docker:
- Step 5: Setting Up Jenkins Job:
- Understanding Jenkins file
- Jenkins file for Docker-compose
- Step 6: Configure Webhooks in GitHub
- Testing
- Pipe-line output:
- Conclusion:
Introduction:
In today's fast-paced software development environment, continuous integration and continuous delivery (CI/CD) have become essential practices for ensuring the quality and efficiency of software delivery. In this tutorial, we'll walk through the process of setting up a CI/CD pipeline using Jenkins on an AWS EC2 instance. By the end of this tutorial, you'll have a fully automated pipeline for building, testing, and deploying your applications.
Prerequisites:
Before we begin, make sure you have the following prerequisites:
An AWS account
Basic knowledge of AWS EC2 instances
Basic knowledge of Jenkins
Step 1: Creating an EC2 Instance:
The first step is to create an EC2 instance on AWS. Follow these steps:
Log in to your AWS Management Console.
Navigate to the EC2 service.
Click on "Launch Instance" and select an appropriate AMI (Amazon Machine Image).
Configure the instance details, including instance type, network settings, and storage.
Add tags and configure security groups to allow inbound traffic on port 8080.
Review and launch the instance.
Step 2: Installing Java and Jenkins:
Pre-Requisites:
- Java (JDK)
Run the below commands to install Java and Jenkins
Install Java
sudo apt update
sudo apt install openjdk-11-jre
Verify Java is Installed
java -version
Now, you can proceed with installing Jenkins
curl -fsSL https://pkg.jenkins.io/debian/jenkins.io-2023.key | sudo tee \
  /usr/share/keyrings/jenkins-keyring.asc > /dev/null
echo deb [signed-by=/usr/share/keyrings/jenkins-keyring.asc] \
  https://pkg.jenkins.io/debian binary/ | sudo tee \
  /etc/apt/sources.list.d/jenkins.list > /dev/null
sudo apt-get update
sudo apt-get install jenkins
Note: By default, Jenkins will not be accessible to the external world due to the inbound traffic restriction by AWS. Open port 8080 in the inbound traffic rules as show below.
EC2 > Instances > Click on
In the bottom tabs -> Click on Security
Security groups
Add inbound traffic rules as shown in the image (you can just allow TCP 8080 as well, in my case, I allowed
All traffic).

Login to Jenkins using the below URL:
http://:8080 [You can get the ec2-instance-public-ip-address from your AWS EC2 console page]
Note: If you are not interested in allowing All Traffic to your EC2 instance 1. Delete the inbound traffic rule for your instance 2. Edit the inbound traffic rule to only allow custom TCP port 8080
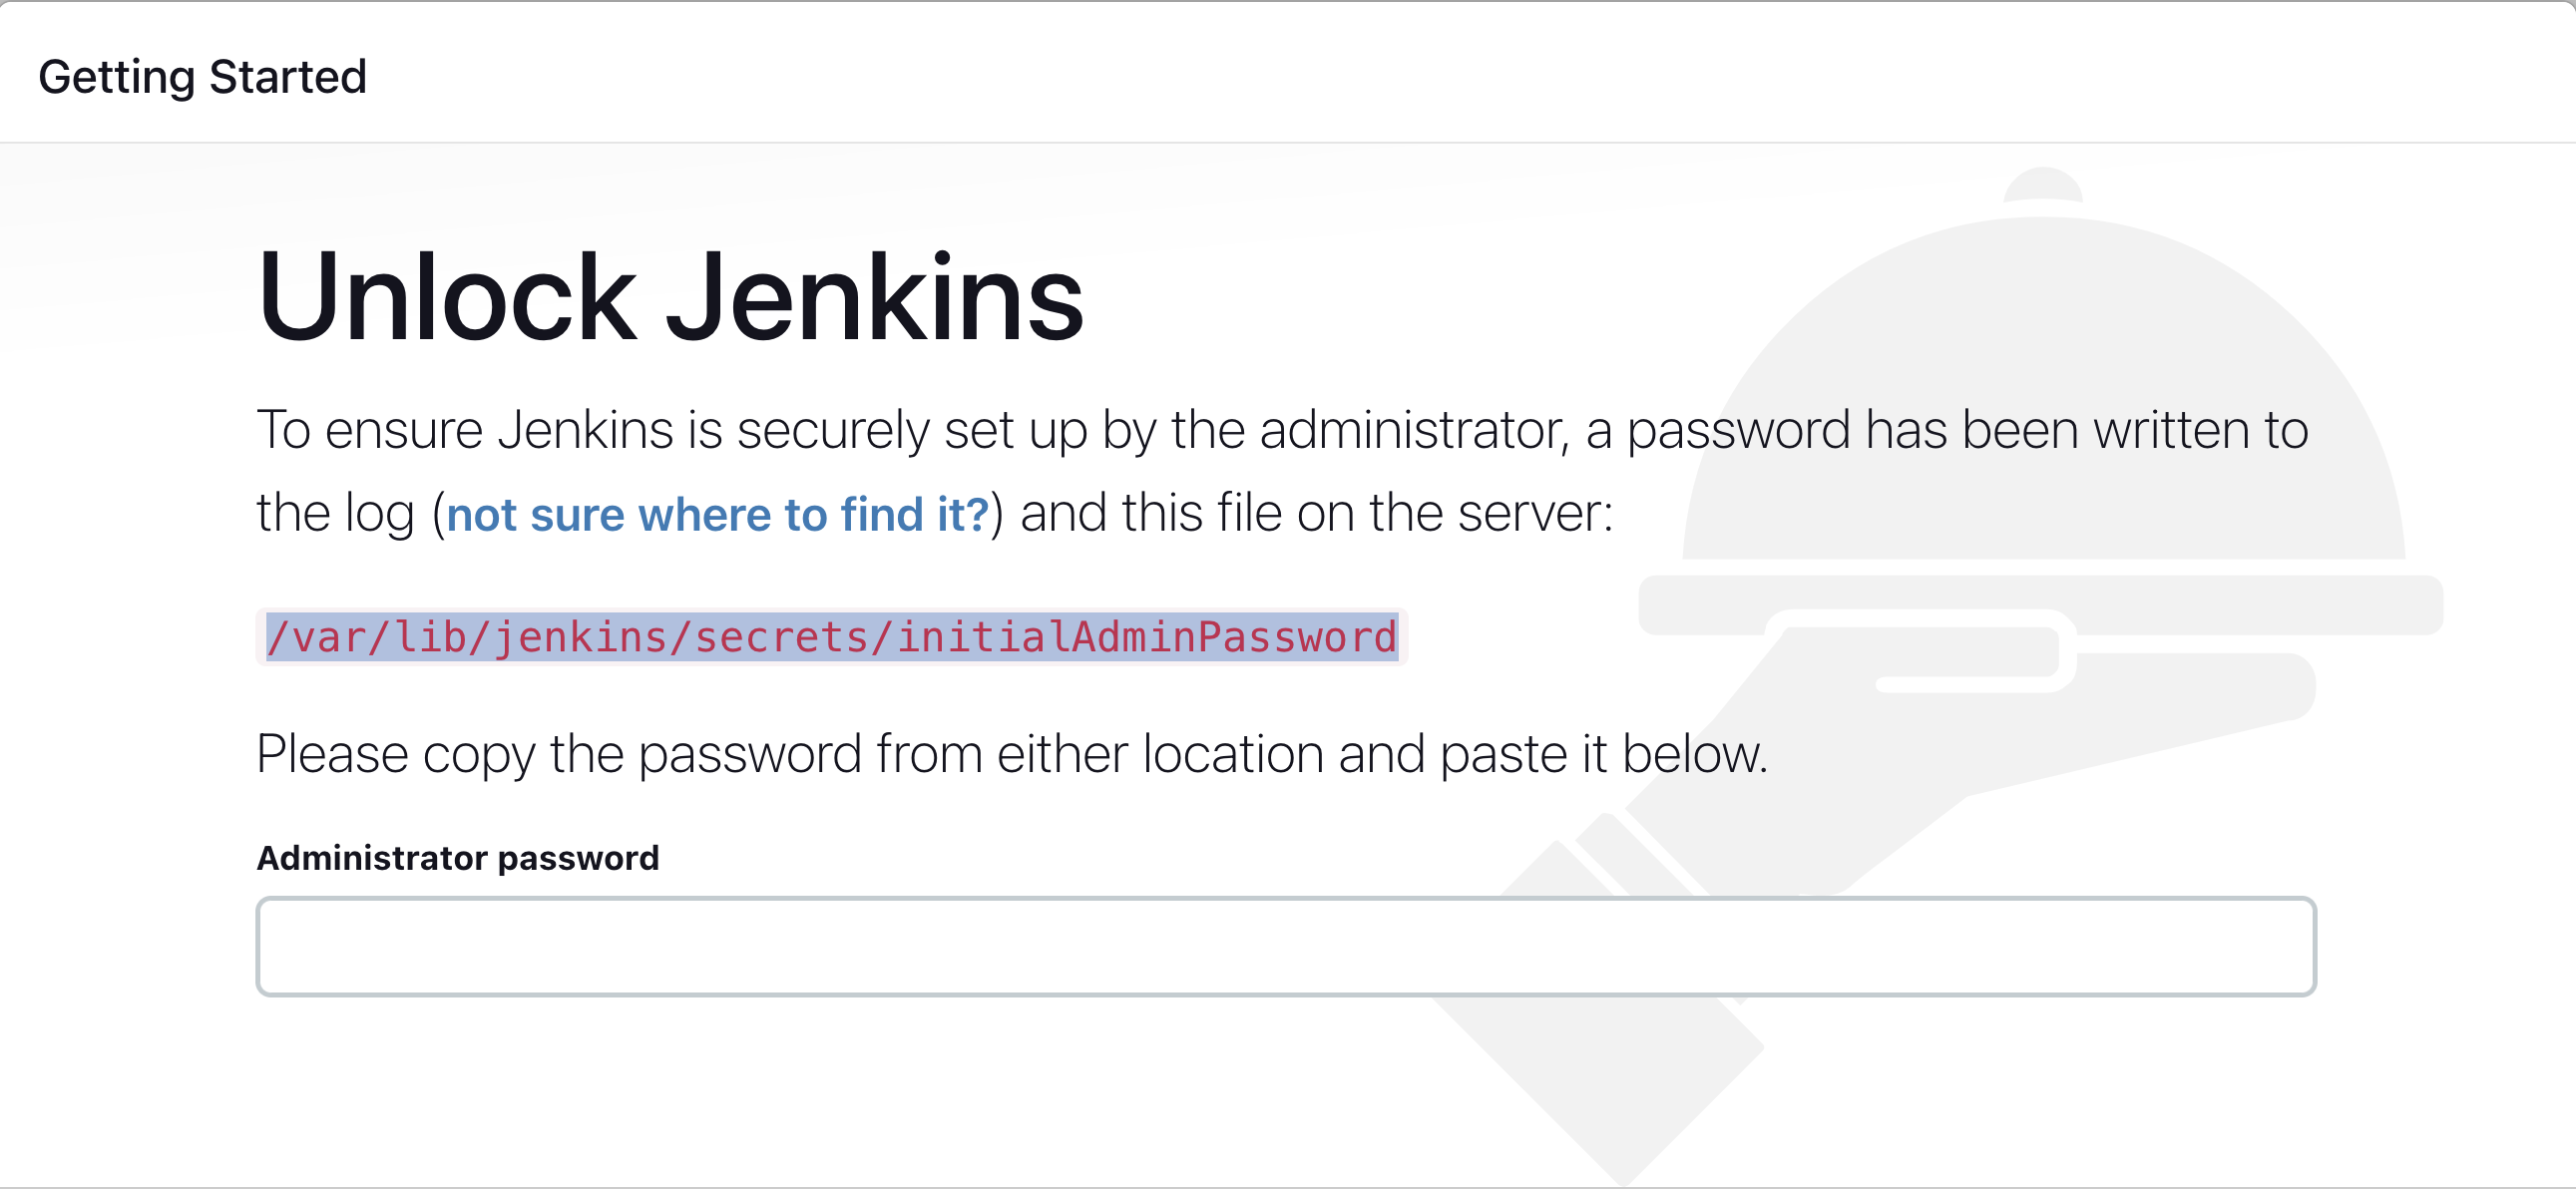
After you login to Jenkins, - Run the command to copy the Jenkins Admin Password - sudo cat /var/lib/jenkins/secrets/initialAdminPassword - Enter the Administrator password
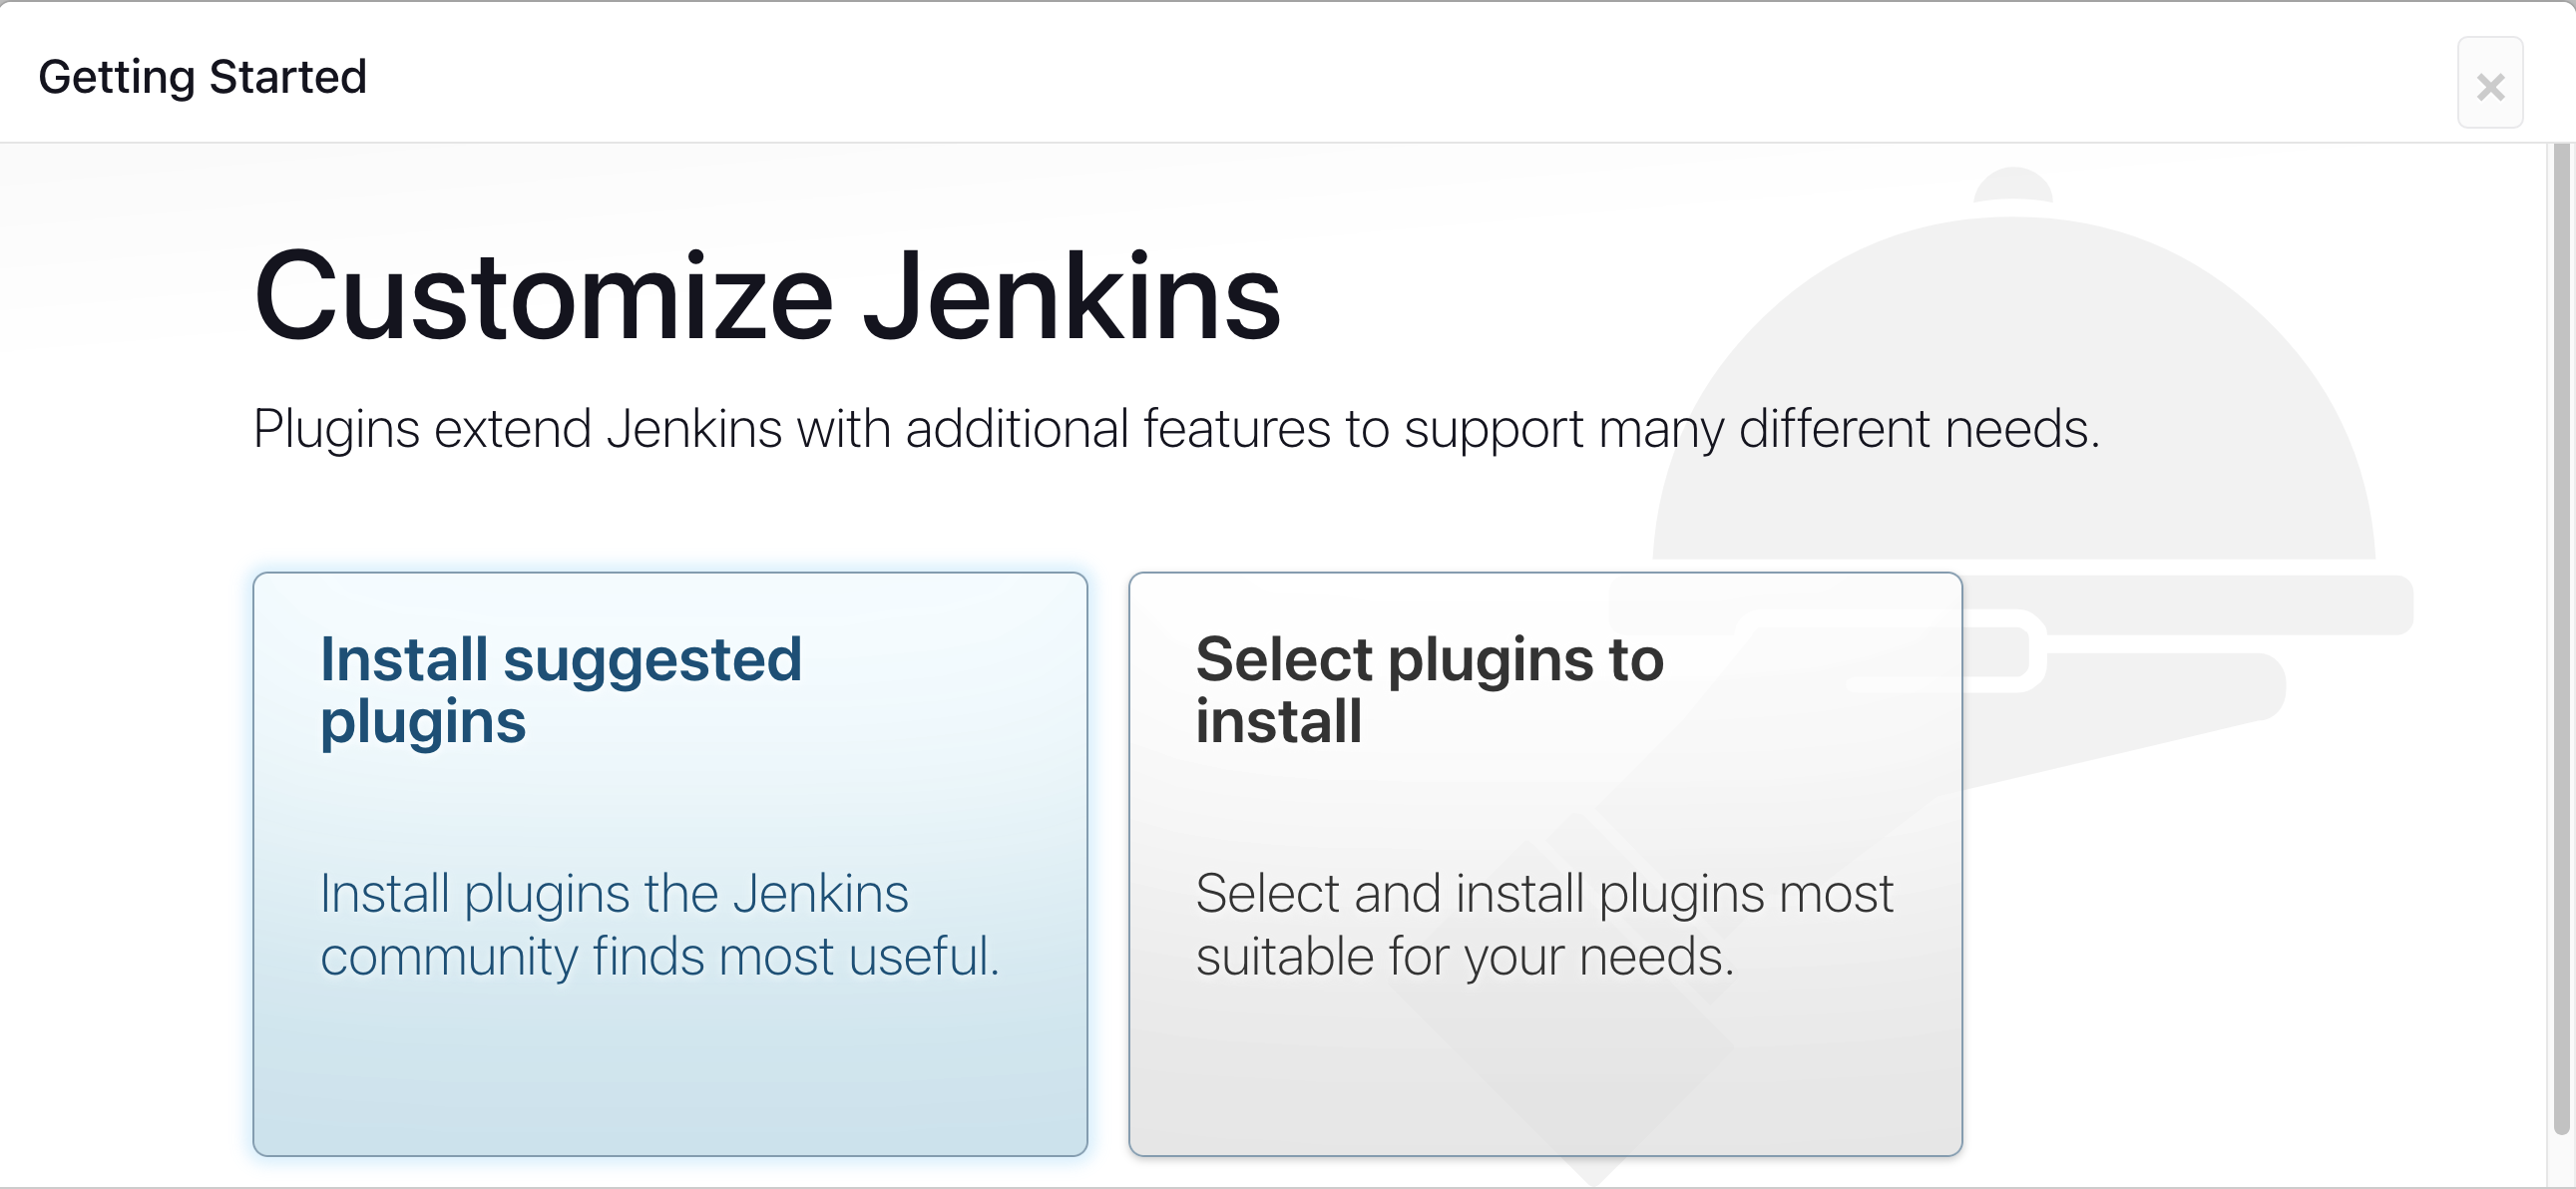
Click on Install suggested plugins
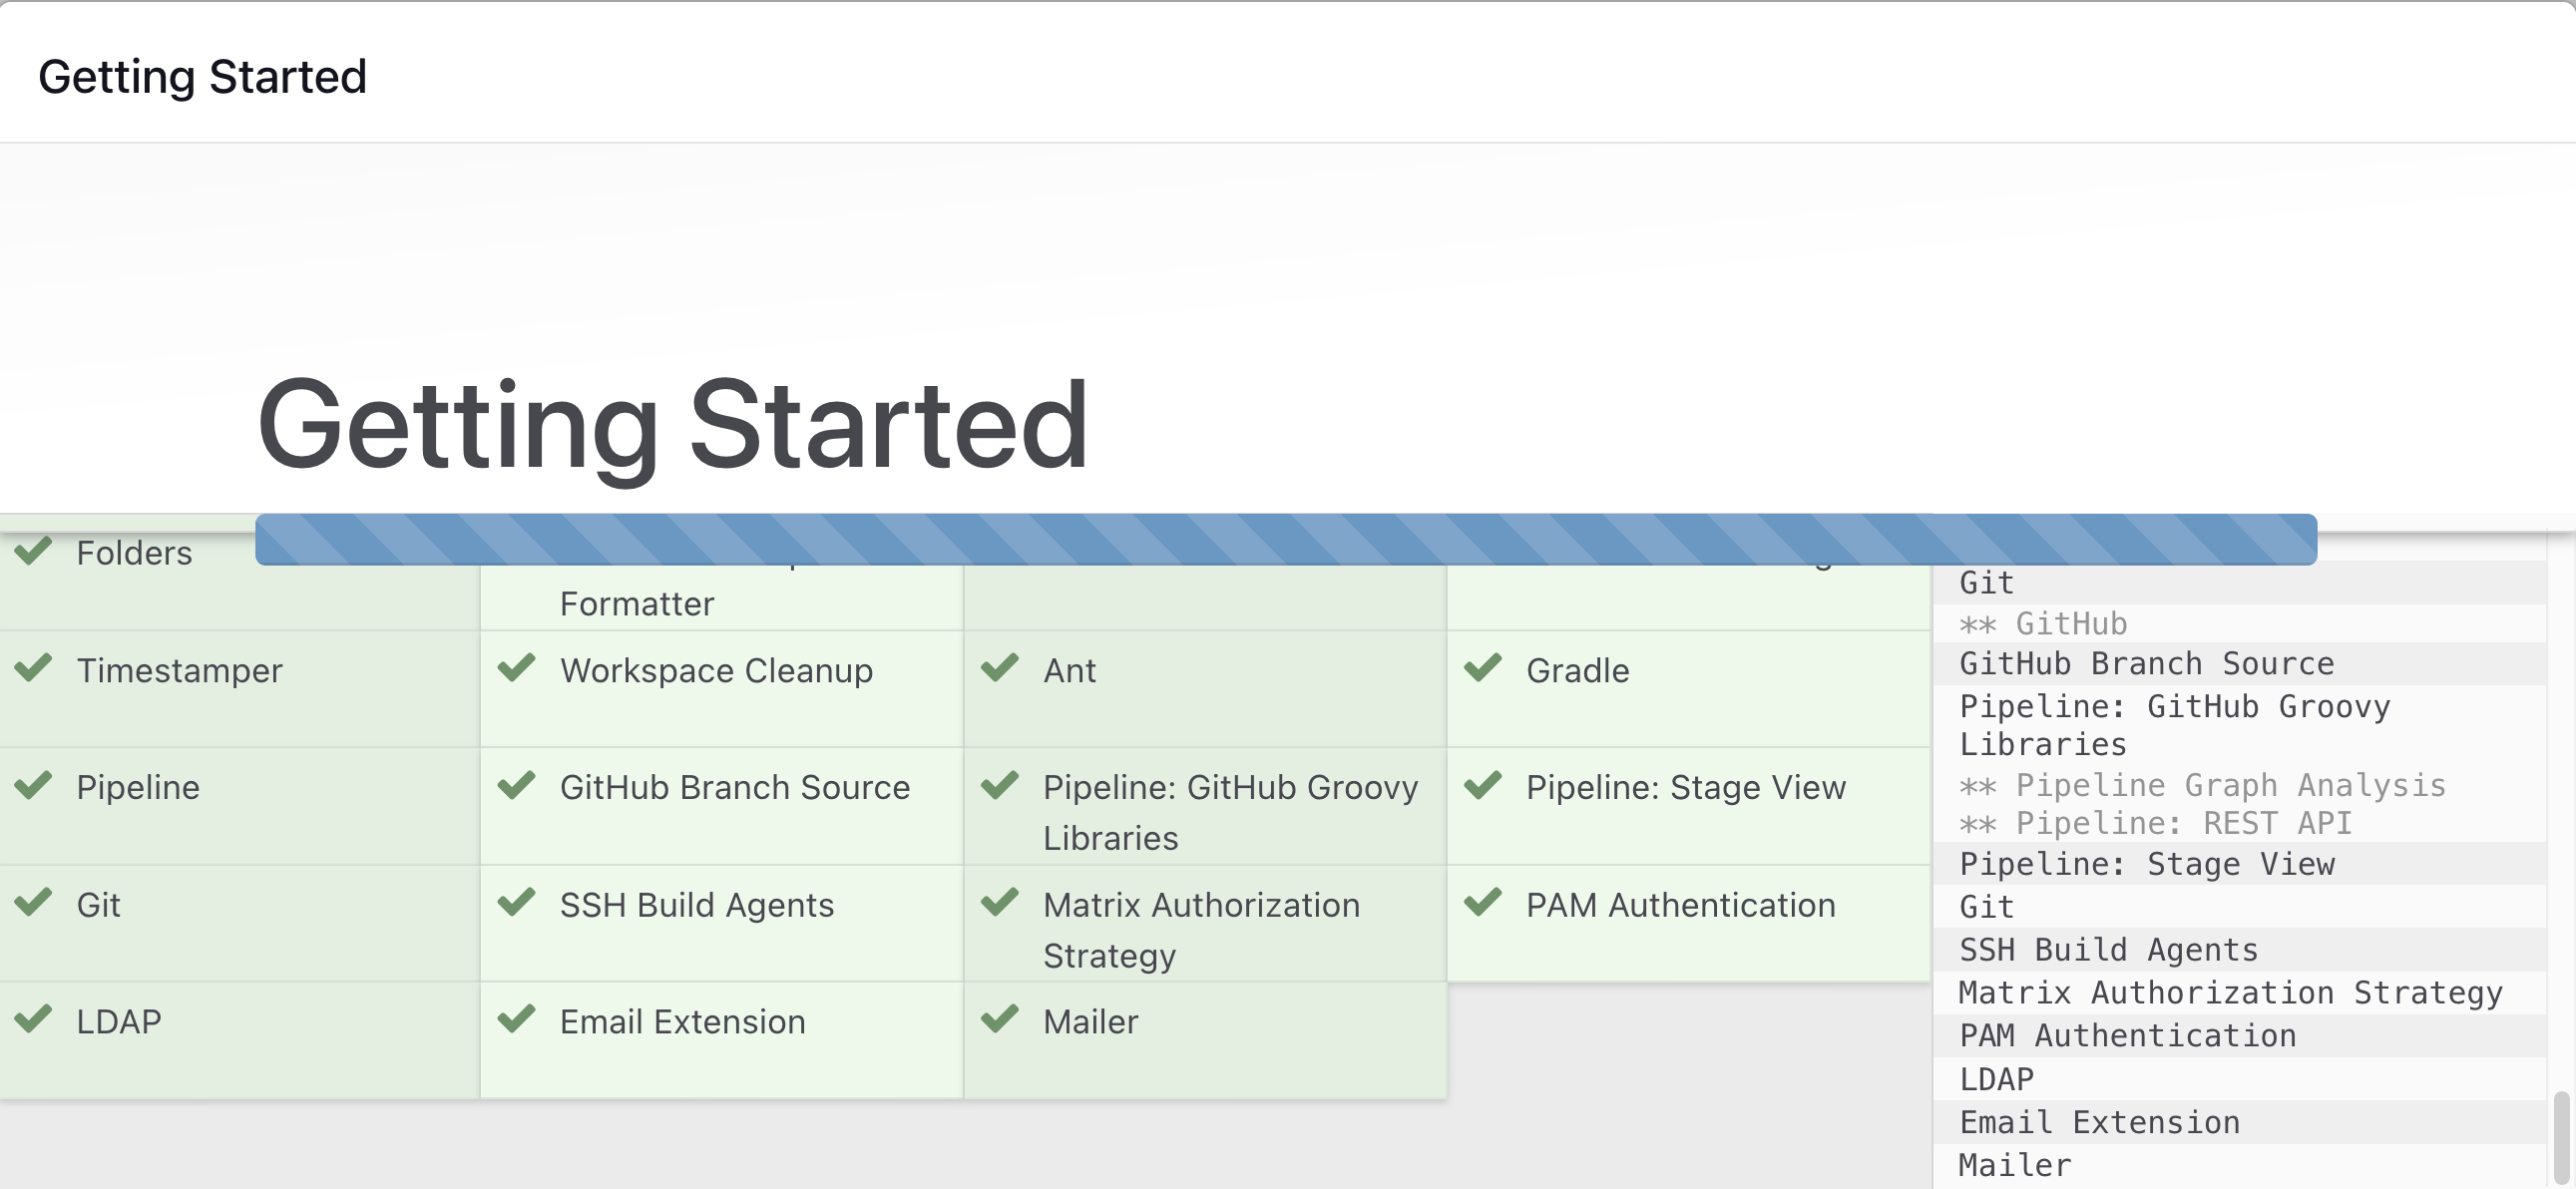
Wait for the Jenkins to Install suggested plugins
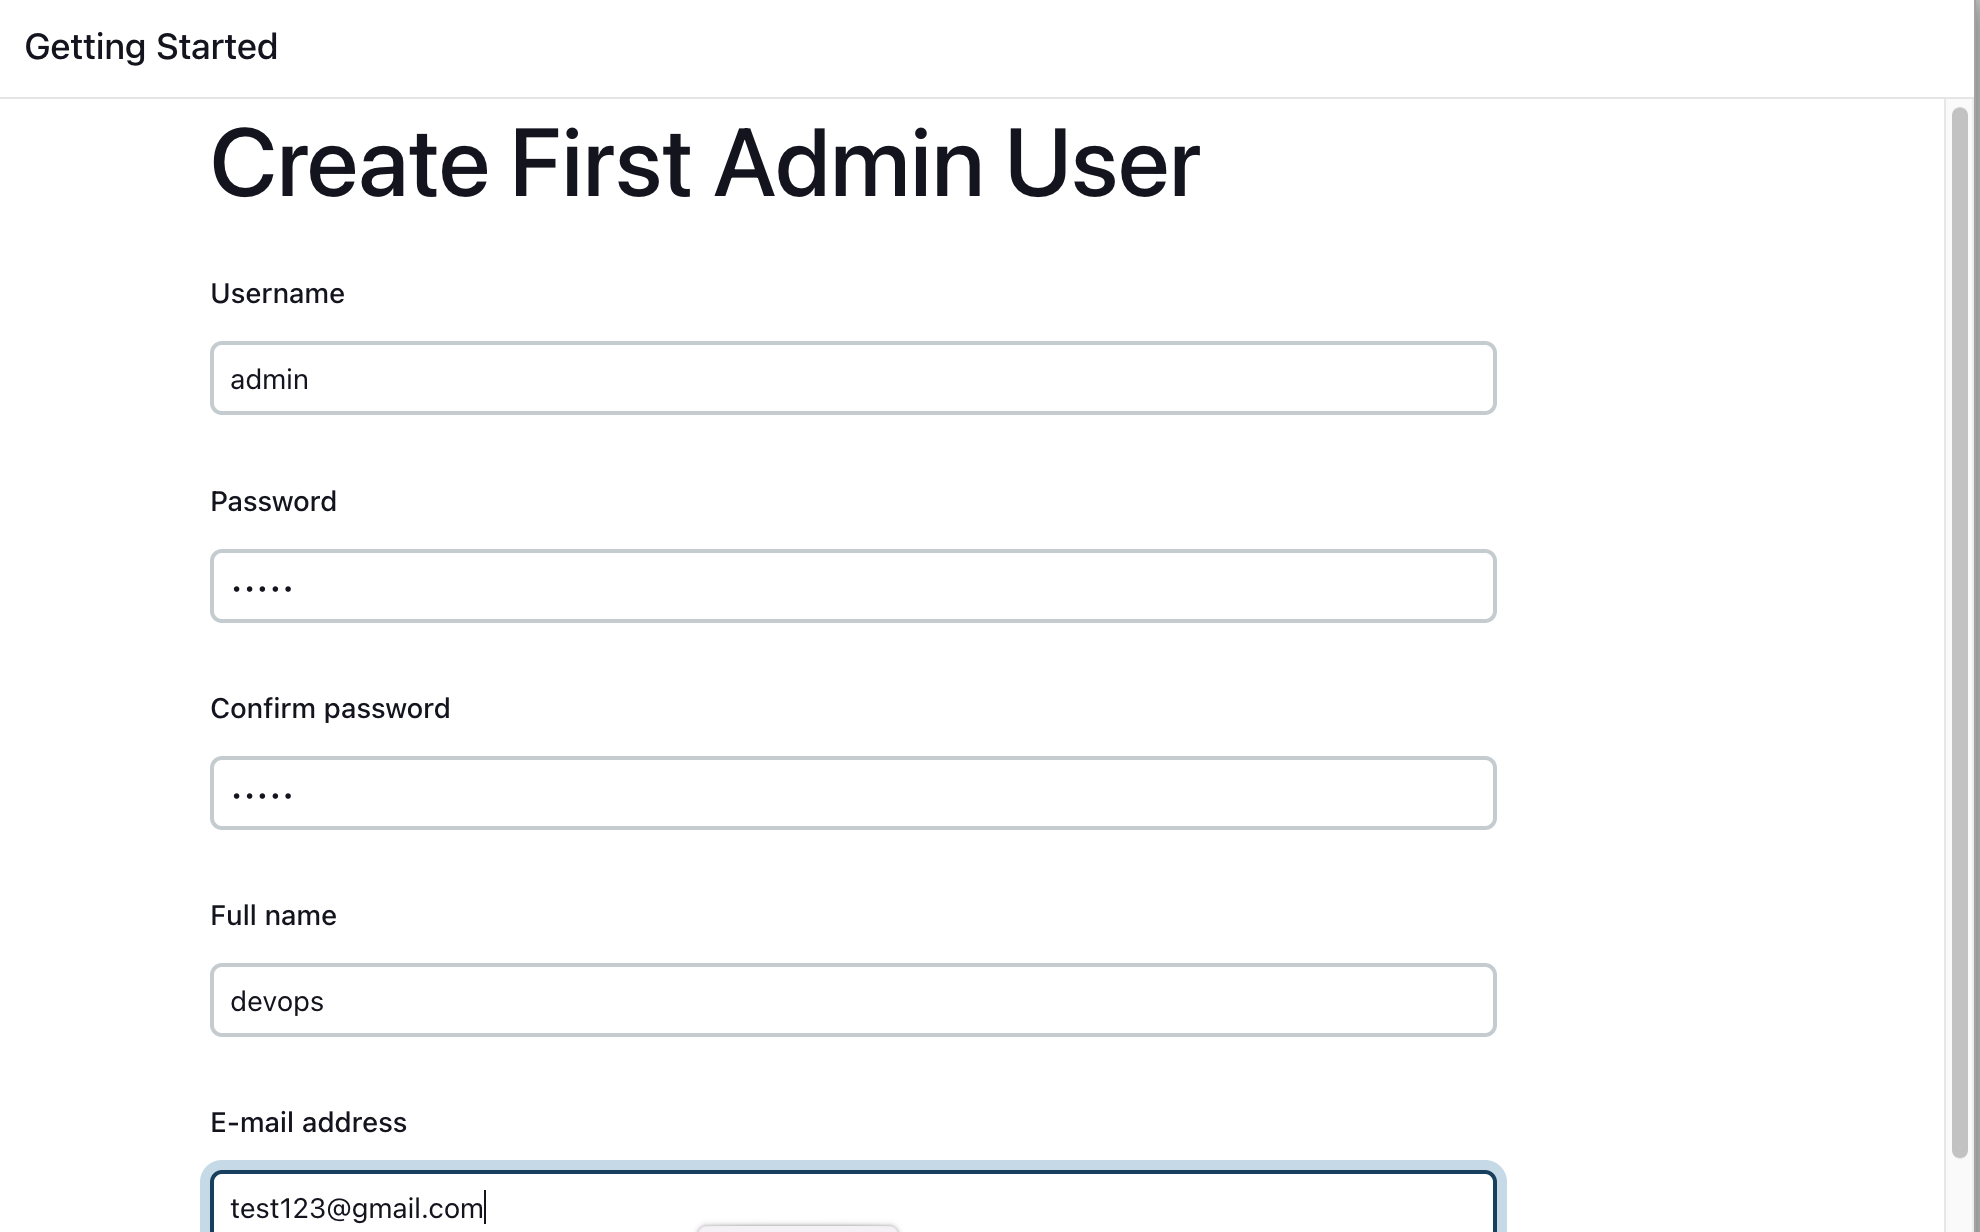
Create First Admin User or Skip the step [If you want to use this Jenkins instance for future use-cases as well, better to create admin user]
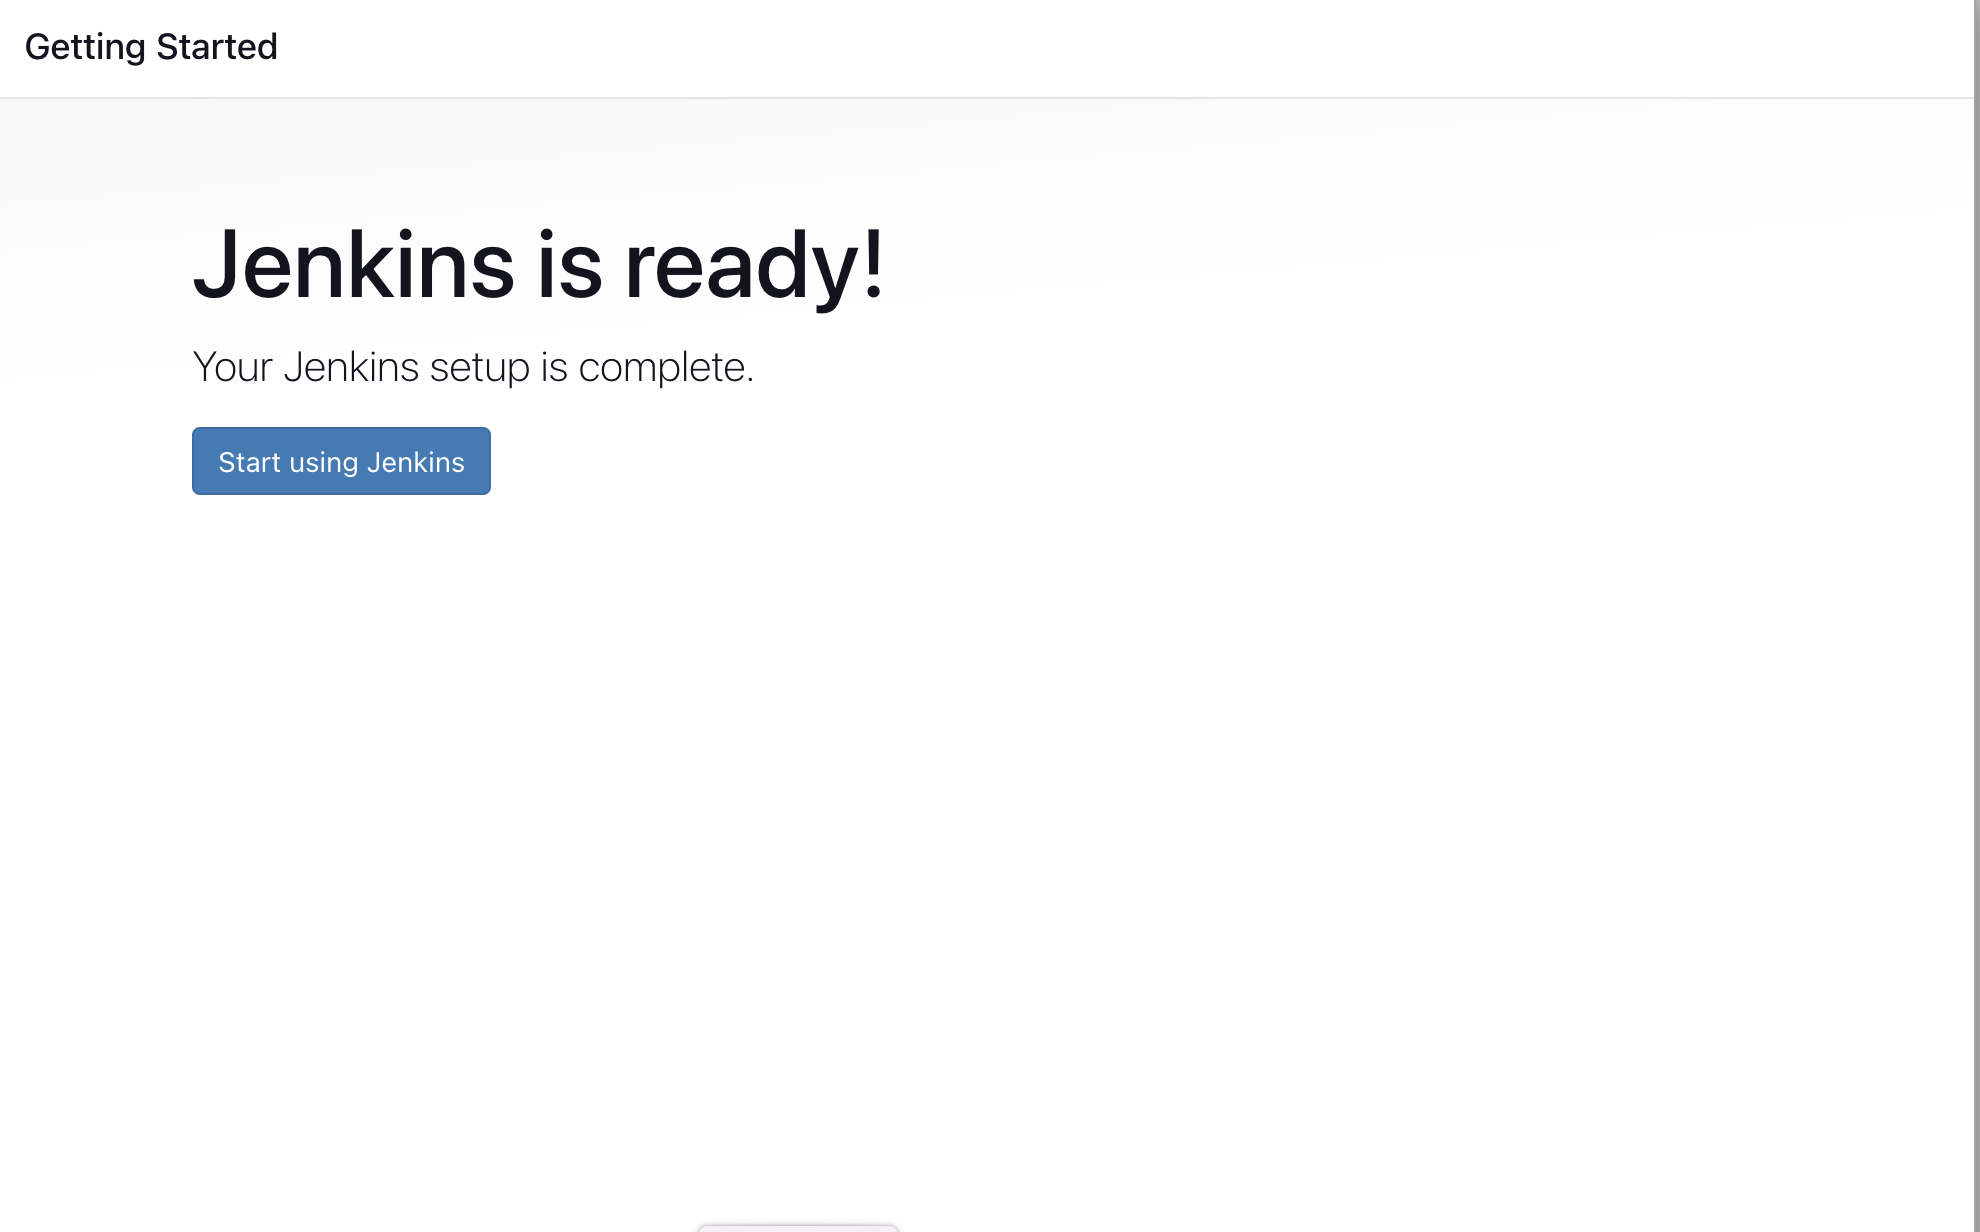
Jenkins Installation is Successful. You can now starting using the Jenkins
Step 4: Installing Docker:
If you're planning to use Docker in your CI/CD pipeline, you can install it on your EC2 instance using the following commands:
bashCopy codesudo apt update
sudo apt install docker.io
sudo usermod -aG docker jenkins
Restart Jenkins for the changes to take effect.
Step 5: Setting Up Jenkins Job:
Log in to Jenkins: Start by logging in to your Jenkins dashboard.
Create a New Jenkins Job:
Click on "New Item" or "Create New Job" to create a new Jenkins job.
Enter a name for your job and select "Pipeline" as the job type.
Click on "OK" to proceed.
Configure Pipeline Settings:
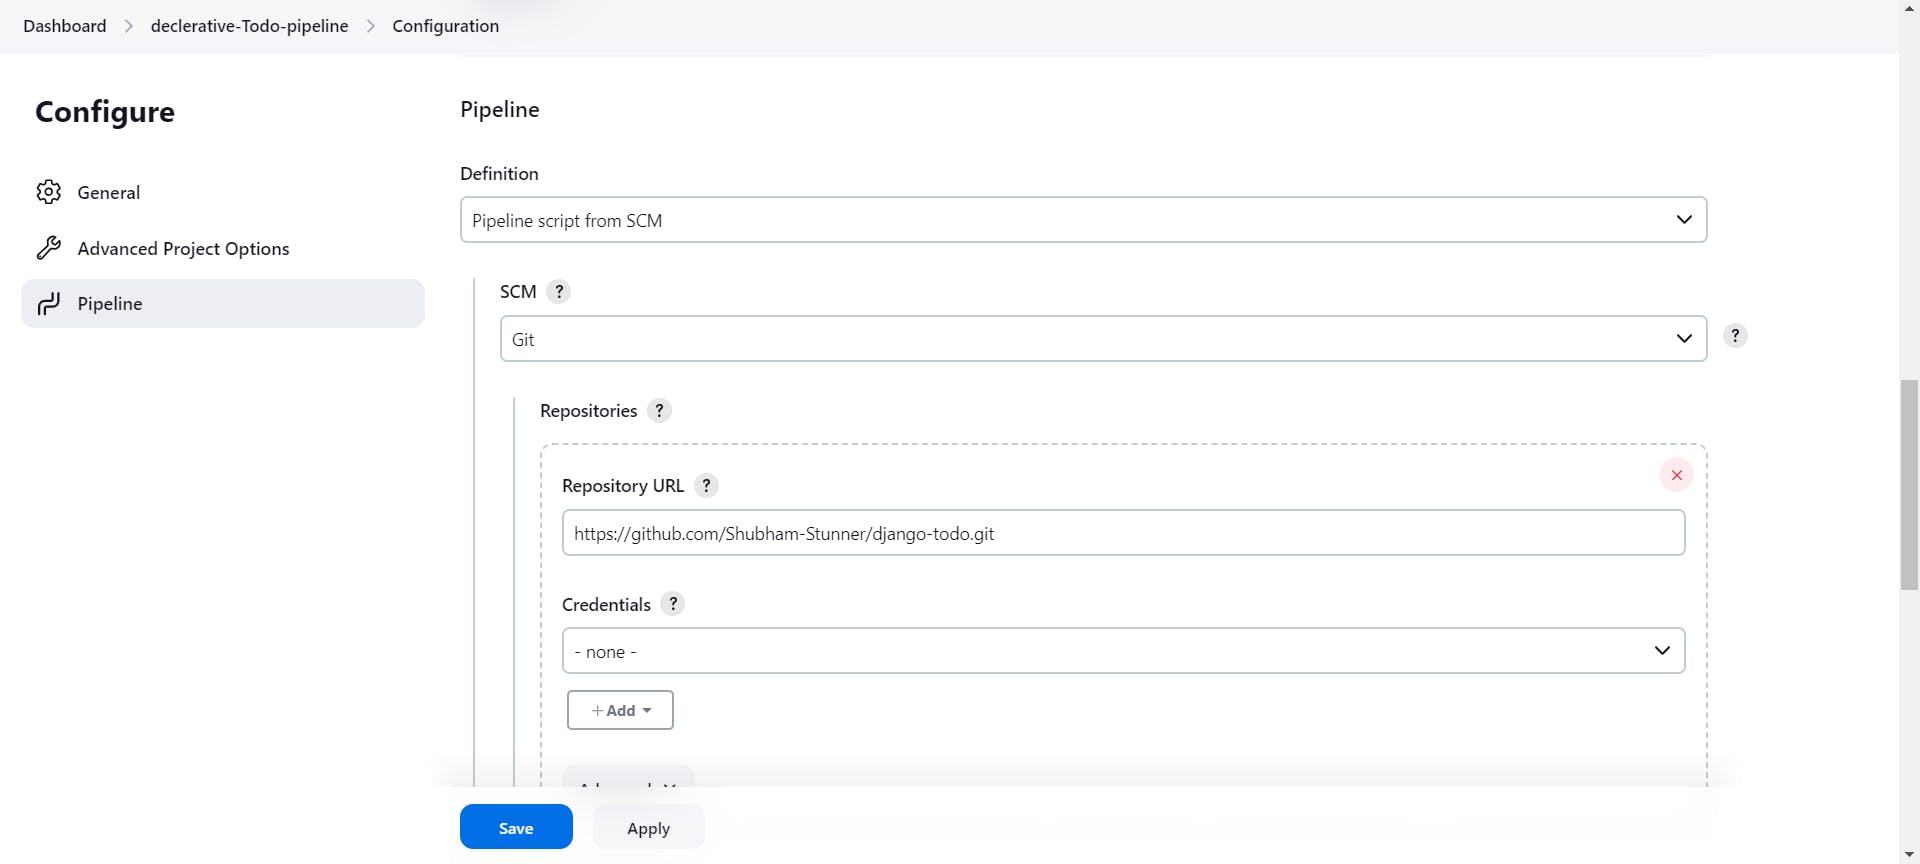
Scroll down to the "Pipeline" section in the job configuration page.
Choose "Pipeline script from SCM" as the Definition.
In the SCM dropdown, select "Git" since you're using a GitHub repository.
Enter the URL of your GitHub repository in the "Repository URL" field. For example: https://github.com/Shubham-Stunner/django-todo.git
Optionally, you can specify the branch to build from in the "Branches to build" field. By default, it's set to
*/develop.Specify the path to your Jenkinsfile in the "Script Path" field. This is the relative path from the root of your repository to your Jenkinsfile. For example:
Jenkinsfile.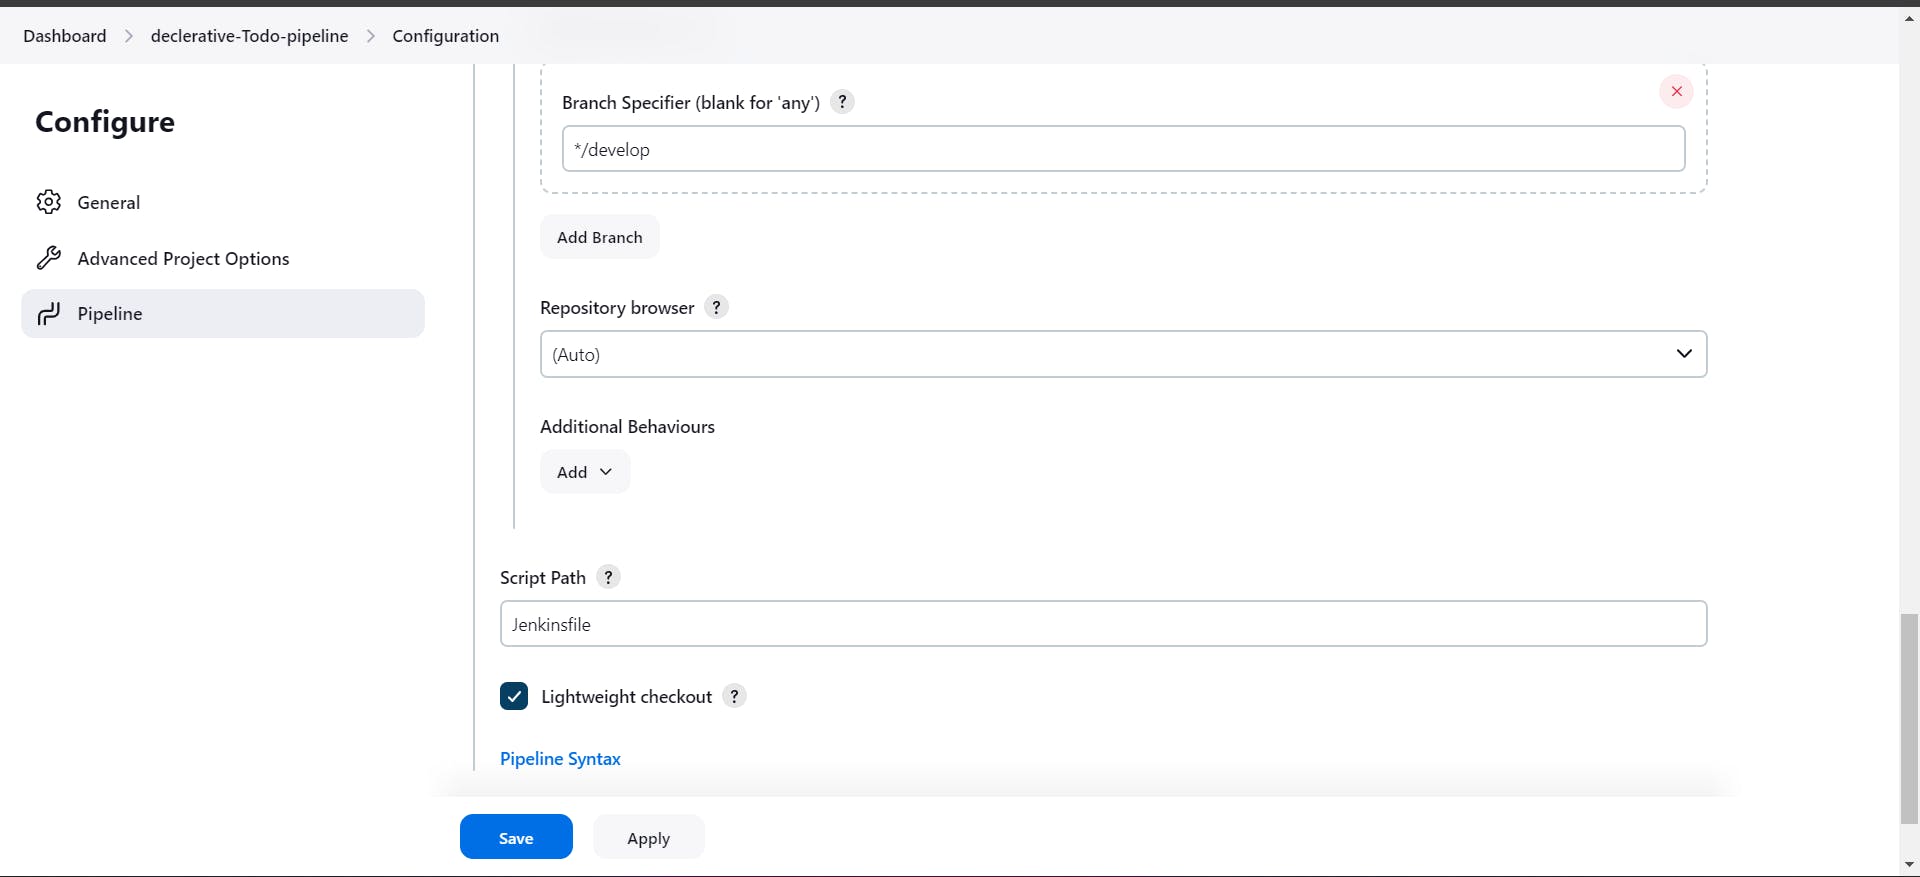
Click on "Save" to save your configuration.
Open port 8000 in the inbound traffic rules as the Django app works runs on port 8000
Understanding Jenkins file
Agent Definition:
groovyCopy codeagent any- This line specifies that the pipeline can run on any available agent in the Jenkins environment. The agent is responsible for executing the steps defined in the pipeline.
Stages:
groovyCopy codestages { // Stages of the pipeline }- This block defines the stages of the pipeline. Stages represent distinct phases or steps in the CI/CD process.
Build Docker Image Stage:
 groovyCopy codestage('Build Docker Image') {
     steps {
         sh 'docker build -t my-django-app .'
     }
 }
This stage is responsible for building a Docker image for a Django application.
The
stepsblock defines the actions to be performed within this stage.Inside the
stepsblock, thesh(shell) step is used to execute a shell command. In this case, it runs thedocker buildcommand to build a Docker image tagged asmy-django-appusing the Dockerfile located in the current directory (.).
Run Docker Container Stage:
 groovyCopy codestage('Run Docker Container') {
     steps {
         sh 'docker run -d -p 8000:8000 my-django-app'
     }
 }
This stage is responsible for running a Docker container based on the previously built Docker image.
Similar to the previous stage, it contains a
stepsblock with a singleshstep. This step runs thedocker runcommand to start a Docker container in detached mode (-d) and map port 8000 of the host to port 8000 of the container (-p 8000:8000). The container is based on themy-django-appimage.
Post Section:
 groovyCopy codepost {
     always {
         echo 'Performing cleanup...'
     }
     success {
         echo 'Pipeline succeeded!'
     }
     failure {
         echo 'Pipeline failed!'
     }
 }
The
postsection defines actions to be taken after the execution of all stages in the pipeline.The
alwaysblock contains cleanup actions that will be executed regardless of the pipeline outcome. In this case, it echoes a message indicating cleanup actions.The
successblock defines actions to be taken if the pipeline succeeds. It echoes a message indicating pipeline success.The
failureblock defines actions to be taken if the pipeline fails. It echoes a message indicating pipeline failure.
Jenkins file for Docker-compose
Sure, let's break down the provided Jenkinsfile and include the instructions for installing Docker Compose:
Agent Definition:
agent any- This line specifies that the pipeline can run on any available agent in the Jenkins environment.
Stages:
stages { // Stages of the pipeline }- This block defines the stages of the pipeline. Stages represent distinct phases or steps in the CI/CD process.
Build Docker Image Stage:
 stage('Build Docker Image') {
     steps {
         sh 'docker-compose build'
     }
 }
This stage is responsible for building Docker images defined in the
docker-compose.ymlfile.The
stepsblock defines the actions to be performed within this stage.Inside the
stepsblock, thesh(shell) step is used to execute a shell command. In this case, it runs thedocker-compose buildcommand to build Docker images based on the instructions in thedocker-compose.ymlfile.
Run Docker Container Stage:
 stage('Run Docker Container') {
     steps {
         sh 'docker-compose up -d'
     }
 }
This stage is responsible for running Docker containers based on the images defined in the
docker-compose.ymlfile.Similar to the previous stage, it contains a
stepsblock with a singleshstep. This step runs thedocker-compose up -dcommand to start Docker containers defined in thedocker-compose.ymlfile in detached mode (-d).
Post Section:
 post {
     success {
         echo 'Pipeline succeeded!'
     }
     failure {
         echo 'Pipeline failed!'
     }
 }
The
postsection defines actions to be taken after the execution of all stages in the pipeline.The
successblock defines actions to be taken if the pipeline succeeds. It echoes a message indicating pipeline success.The
failureblock defines actions to be taken if the pipeline fails. It echoes a message indicating pipeline failure.
Installing Docker Compose: Before running this pipeline, ensure that Docker Compose is installed on the Jenkins environment. You can install Docker Compose by following the official installation instructions provided here.
This Jenkinsfile automates the process of building and running Docker containers using Docker Compose. It provides a structured and repeatable way to deploy applications using Jenkins while utilizing Docker Compose for container orchestration.
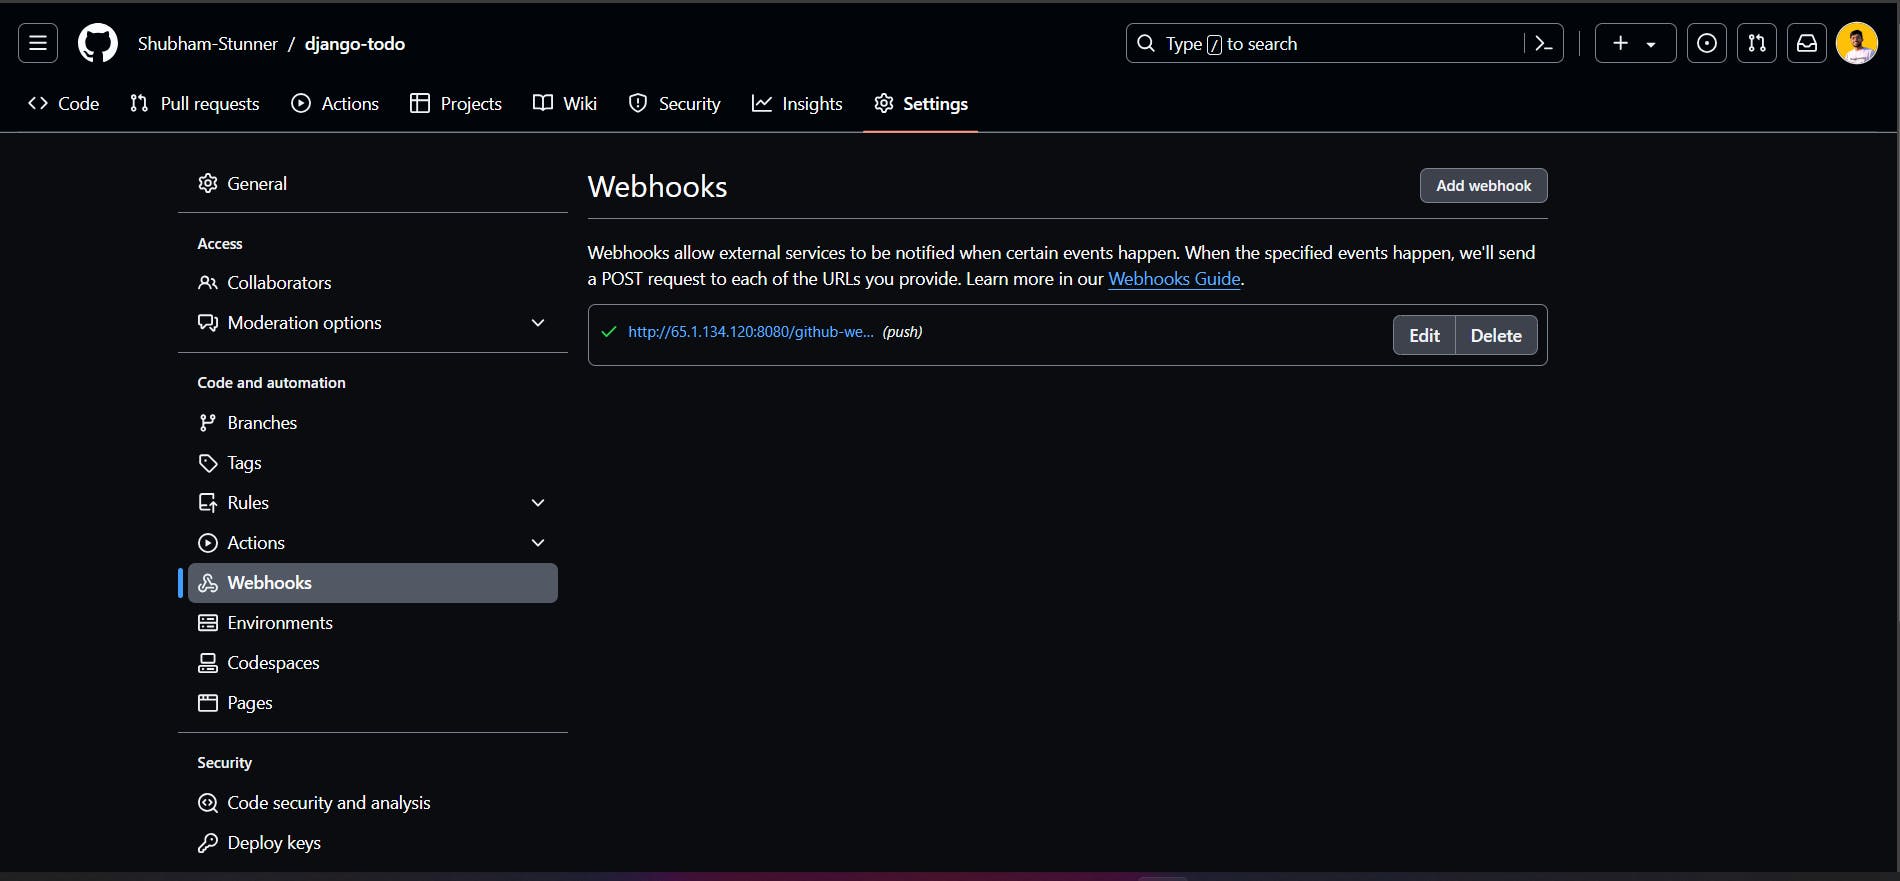
Step 6: Configure Webhooks in GitHub
Go to your GitHub repository settings.
Navigate to the "Webhooks" section.
Click on "Add webhook".
In the "Payload URL" field, enter the URL of your Jenkins server followed by
/github-webhook/. For example:http://<jenkins-server-ip>:8080/github-webhook/.Select "application/json" as the "Content type".
For "Which events would you like to trigger this webhook?", choose "Just the push event" or any other events you want to trigger the webhook.
Paste the Jenkins GitHub webhook secret token in the "Secret" field (if you've configured one in Jenkins).
Click on "Add webhook" to save the configuration.
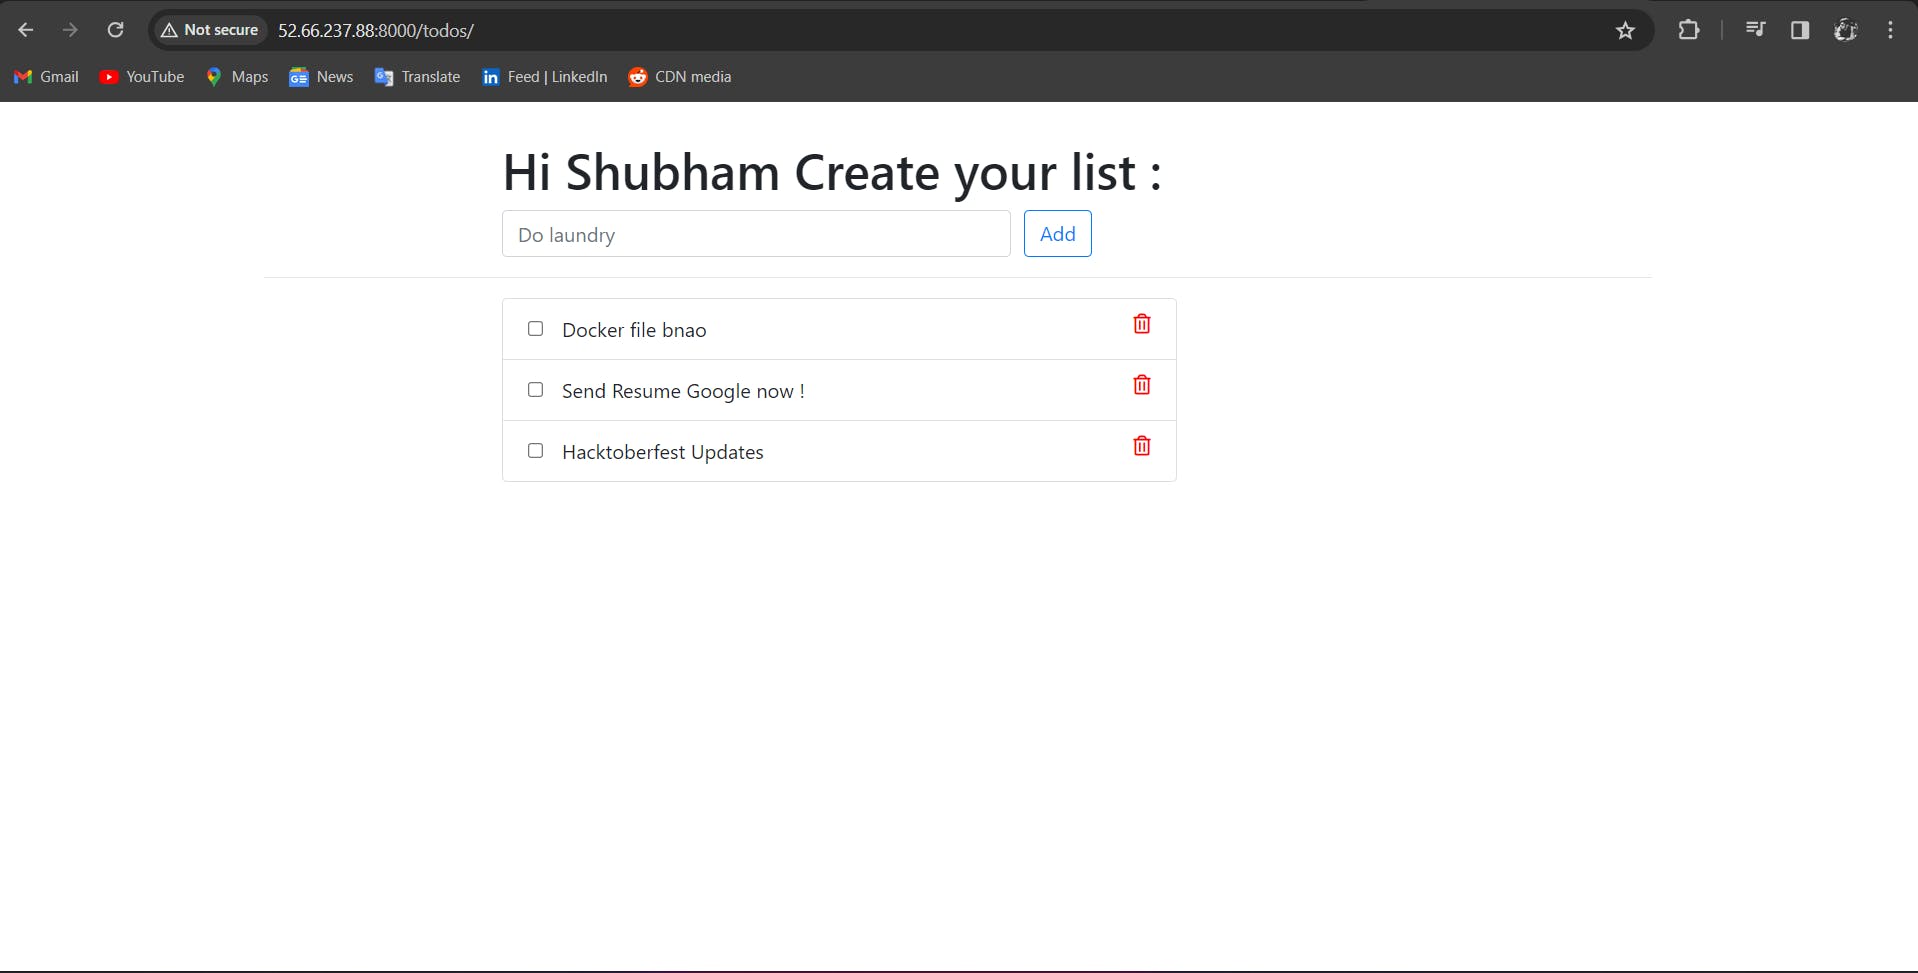
Testing
Make a change in your GitHub repository (e.g., push a commit).
Verify that Jenkins triggers a build automatically.
Check the Jenkins job console output for the build status and any errors.
Pipe-line output:
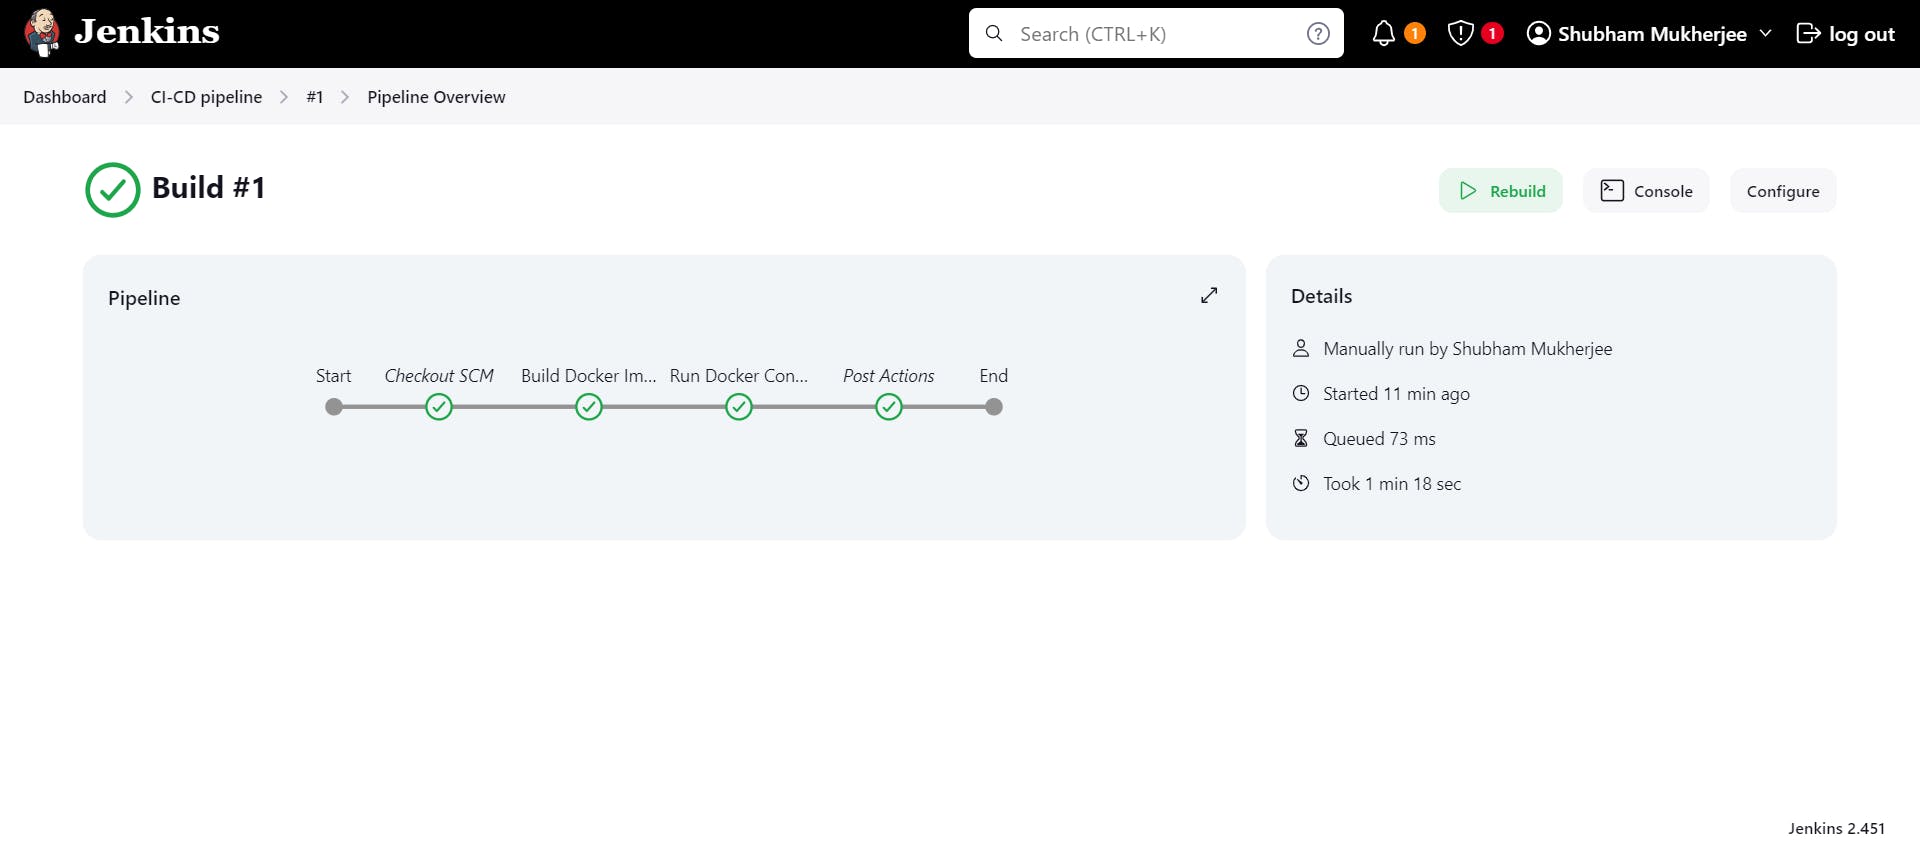
Conclusion:
In conclusion, you've achieved a significant milestone by setting up a CI/CD pipeline with Jenkins on an AWS EC2 instance. By completing this setup, you've empowered your development team with the capability to automate crucial aspects of the software delivery lifecycle, including building, testing, and deploying applications.
With this pipeline in place, several benefits come into play:
Automation: By automating the build, test, and deployment processes, you've reduced manual intervention and potential errors. This automation streamlines the development workflow, allowing your team to focus on more critical tasks.
Efficiency: The CI/CD pipeline accelerates the software delivery process, enabling faster time-to-market for your applications. Developers can iterate on their code more rapidly, leading to quicker feedback cycles and improved product quality.
Reliability: With automated testing integrated into the pipeline, you can ensure the stability and reliability of your applications. Continuous testing at each stage of development minimizes the risk of introducing bugs and regressions into production.
Scalability: The pipeline can scale alongside your development efforts, accommodating increased workload and complexity as your projects grow. Whether you're working on a small-scale application or a large-scale enterprise solution, the CI/CD pipeline provides the flexibility to adapt to your needs.
Visibility and Traceability: Jenkins offers comprehensive visibility into the CI/CD process through its dashboard and reporting features. You can track the progress of builds, monitor test results, and analyze deployment trends, providing valuable insights for continuous improvement.
In summary, by establishing a CI/CD pipeline with Jenkins on AWS EC2, you've laid the foundation for a more efficient, reliable, and scalable software delivery process. This setup empowers your development team to deliver high-quality applications at a faster pace, ultimately driving greater value for your organization and its stakeholders.
I believe this blog will offer some value, providing unique insights and sharing new and engaging ideas. 🙏
😊 Your support means a lot, so stay tuned for more!
Happy Learning 😊