Effortless CI/CD pipeline using Jenkins : Deployment of Nodejs Application using Docker with OWASP Dependency check
Table of contents
- Prerequisites:
- Step 1: Creating an EC2 Instance:
- Step 2: Installing Java and Jenkins:
- Run the below commands to install Java and Jenkins
- Step 3: Login to Jenkins using the below URL:
- Click on Install suggested plugins
- Step 4: Installing Docker:
- Step 5: Installing Plugins :
- Step 6: Configure Tools
- Step 7: Build a Pipeline Job
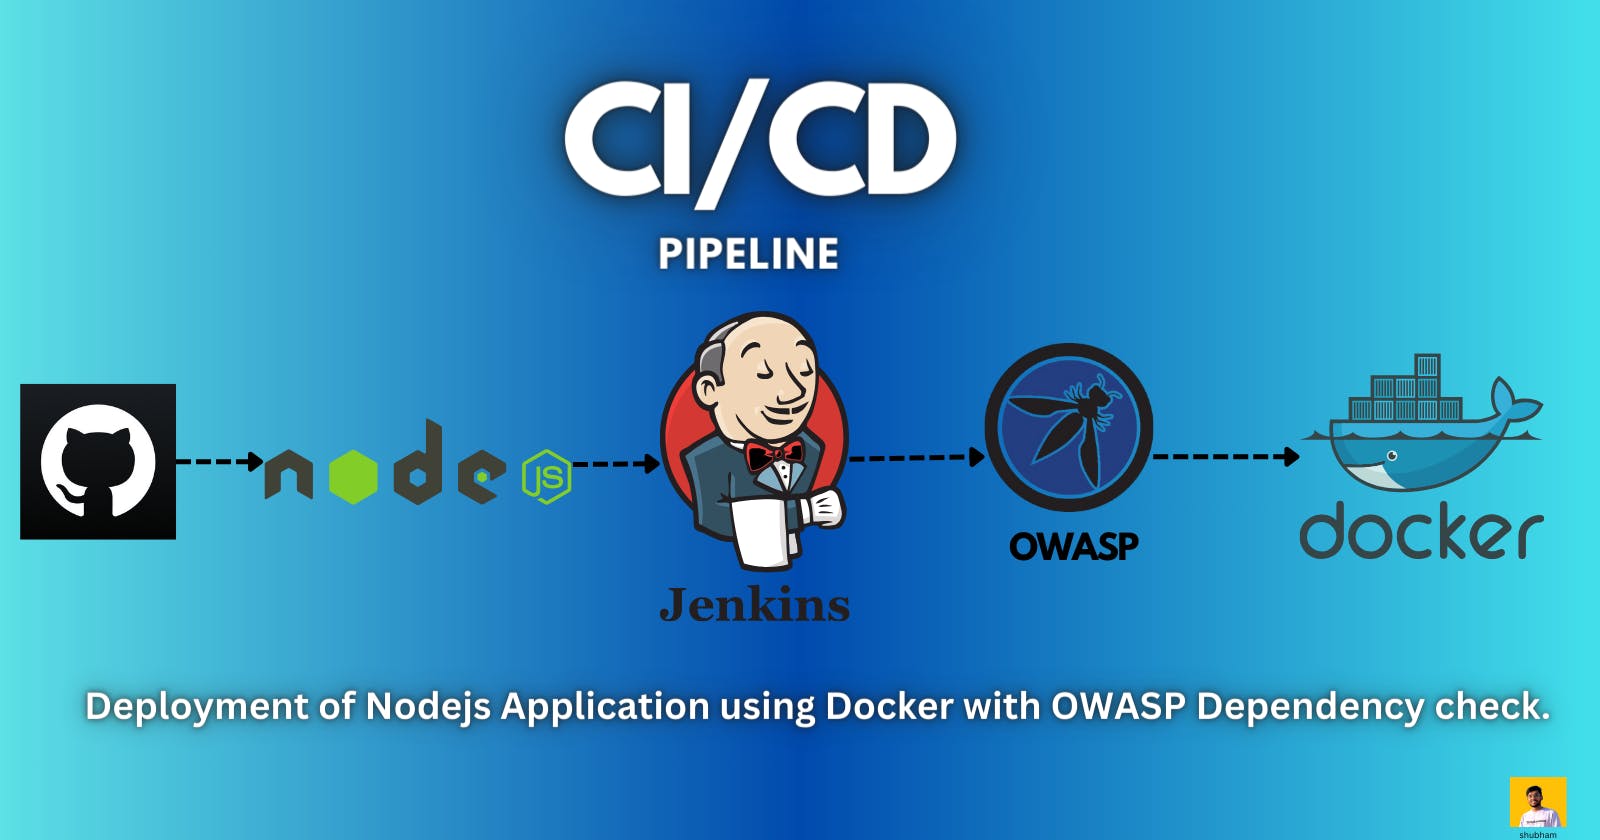
"Welcome to our latest project, where we're diving into the world of Continuous Integration and Continuous Deployment (CI/CD) with Node.js, Docker, and Jenkins! In this tutorial, we'll walk you through setting up an effortless CI/CD pipeline using Jenkins, deploying a basic Node.js webpage encapsulated in a Docker container. Our pipeline ensures seamless integration, automated testing, and secure deployment, with the added bonus of OWASP Dependency Check for enhanced security. Whether you're new to CI/CD or a seasoned developer, feel free to clone our project and follow along to streamline your development process. Let's get started!
Prerequisites:
Before we begin, make sure you have the following prerequisites:
An AWS account
Basic knowledge of AWS EC2 instances
Basic knowledge of Jenkins
Step 1: Creating an EC2 Instance:
The first step is to create an EC2 instance on AWS. Follow these steps:
Log in to your AWS Management Console.
Navigate to the EC2 service.
Click on "Launch Instance" and select an appropriate AMI (Amazon Machine Image).
Configure the instance details, including instance type, network settings, and storage.
Add tags and configure security groups to allow inbound traffic on port 8080.
Review and launch the instance.
Step 2: Installing Java and Jenkins:
Pre-Requisites:
- Java (JDK)
Run the below commands to install Java and Jenkins
Install Java
COPY
sudo apt update
sudo apt install openjdk-11-jre
Verify Java is Installed
COPY
java -version
Now, you can proceed with installing Jenkins
COPY
curl -fsSL https://pkg.jenkins.io/debian/jenkins.io-2023.key | sudo tee \
  /usr/share/keyrings/jenkins-keyring.asc > /dev/null
echo deb [signed-by=/usr/share/keyrings/jenkins-keyring.asc] \
  https://pkg.jenkins.io/debian binary/ | sudo tee \
  /etc/apt/sources.list.d/jenkins.list > /dev/null
sudo apt-get update
sudo apt-get install jenkins
Note: By default, Jenkins will not be accessible to the external world due to the inbound traffic restriction by AWS. Open port 8080 in the inbound traffic rules as show below.
EC2 > Instances > Click on
In the bottom tabs -> Click on Security
Security groups
Add inbound traffic rules as shown in the image (you can just allow TCP 8080 as well, in my case, I allowed
All traffic).
Step 3: Login to Jenkins using the below URL:
http://:8080 [You can get the ec2-instance-public-ip-address from your AWS EC2 console page]
Note: If you are not interested in allowing All Traffic to your EC2 instance 1. Delete the inbound traffic rule for your instance 2. Edit the inbound traffic rule to only allow custom TCP port 8080
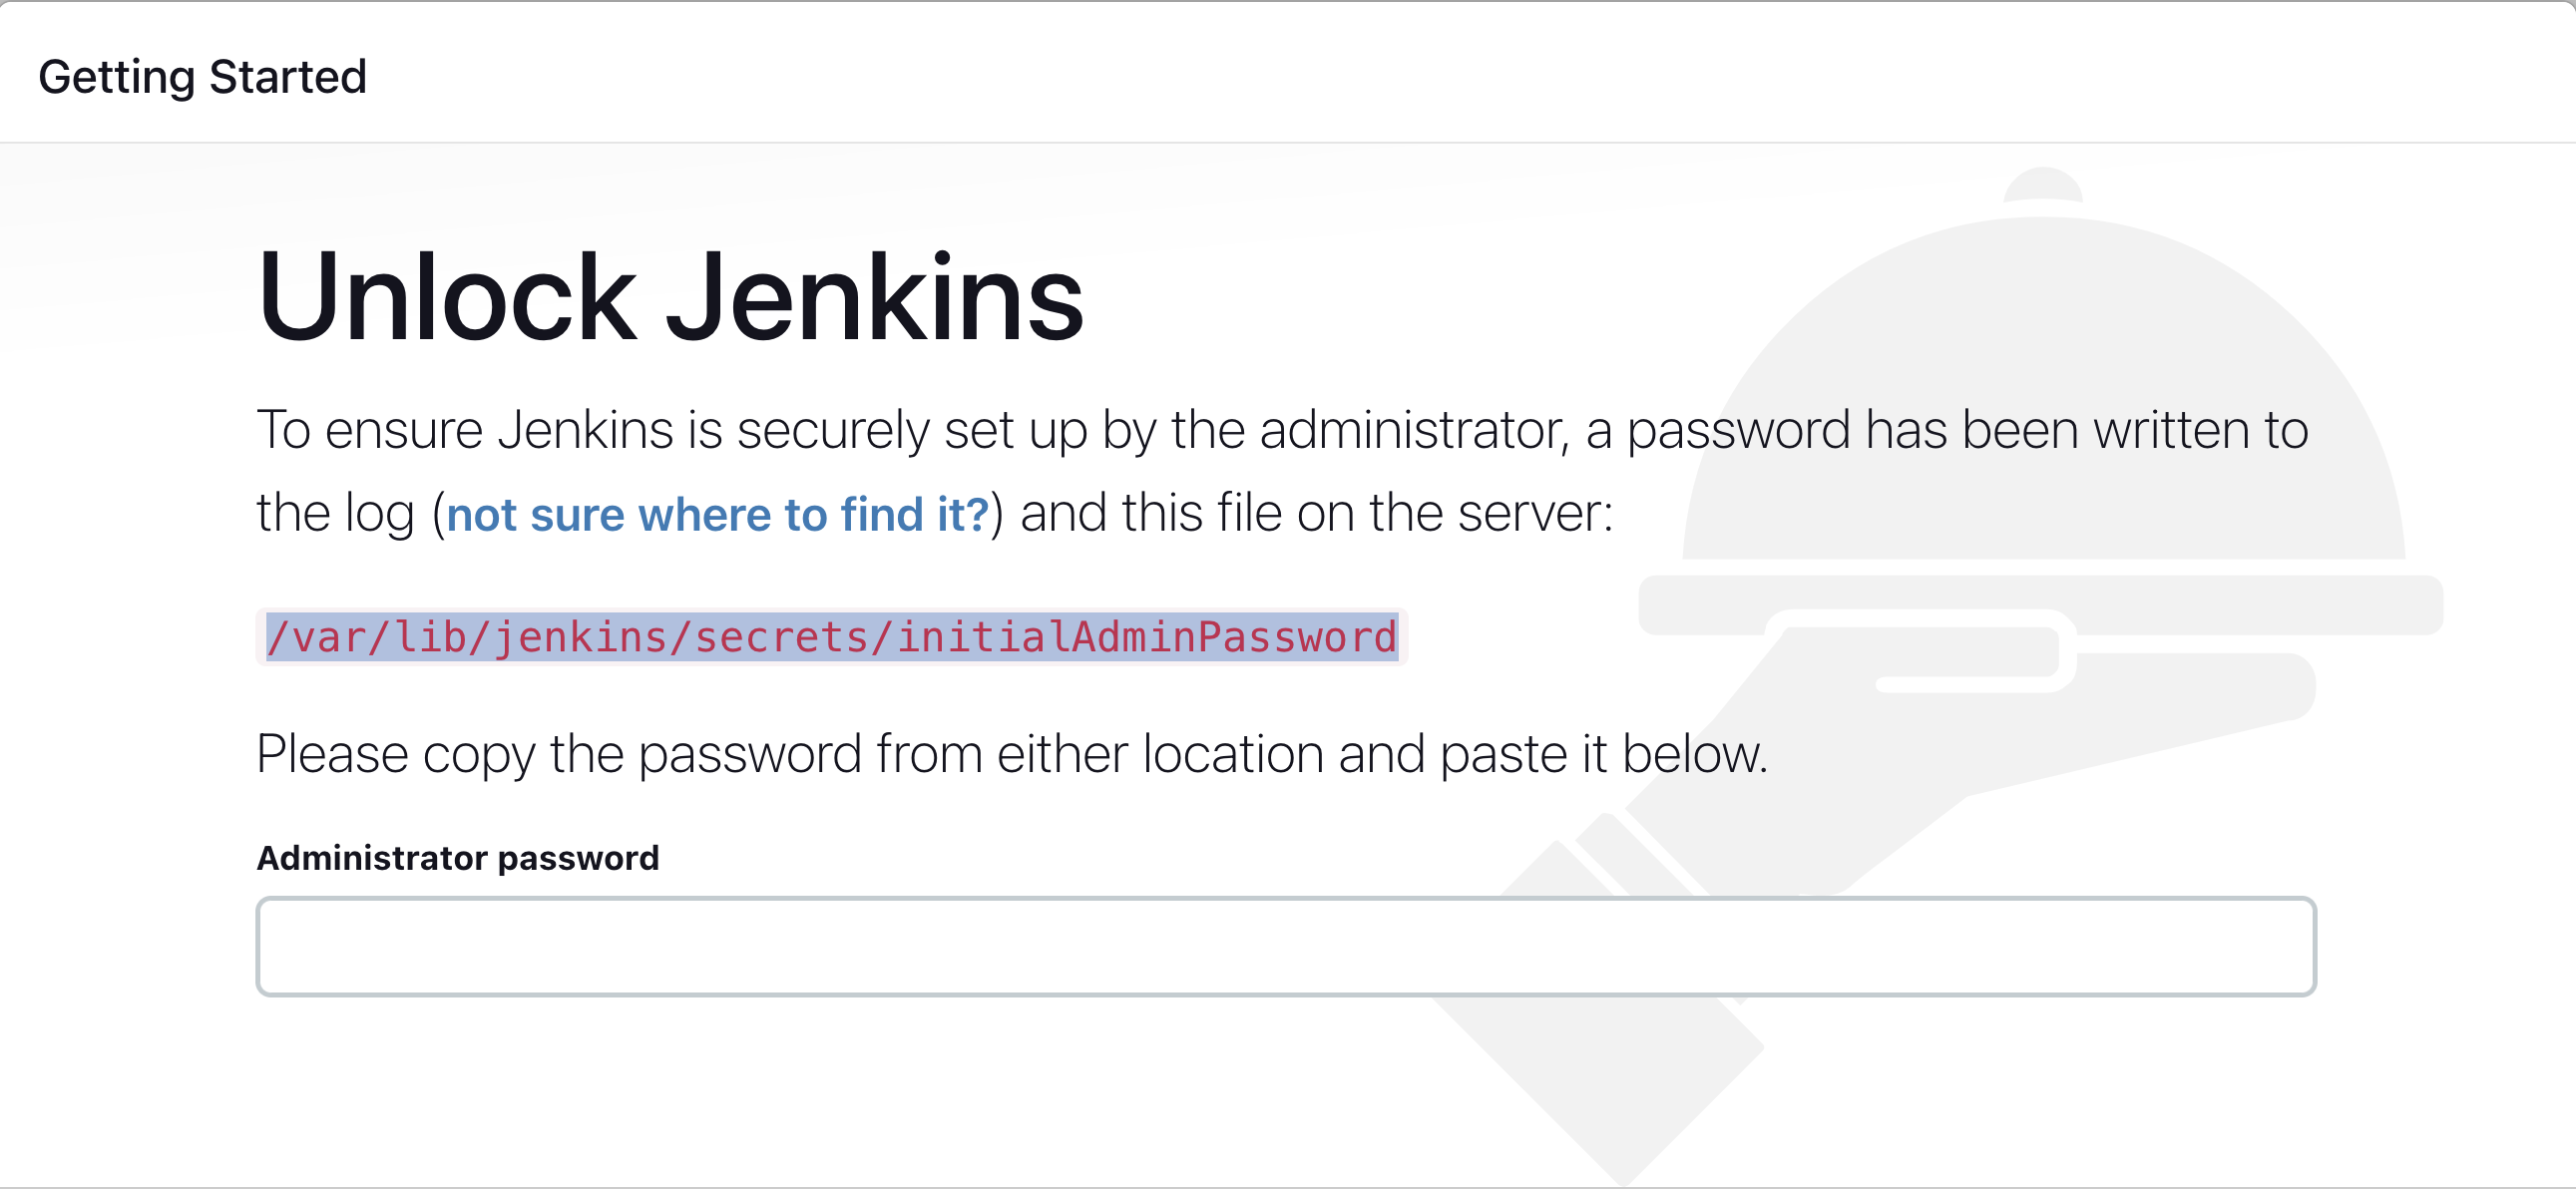
After you login to Jenkins, - Run the command to copy the Jenkins Admin Password - sudo cat /var/lib/jenkins/secrets/initialAdminPassword - Enter the Administrator password
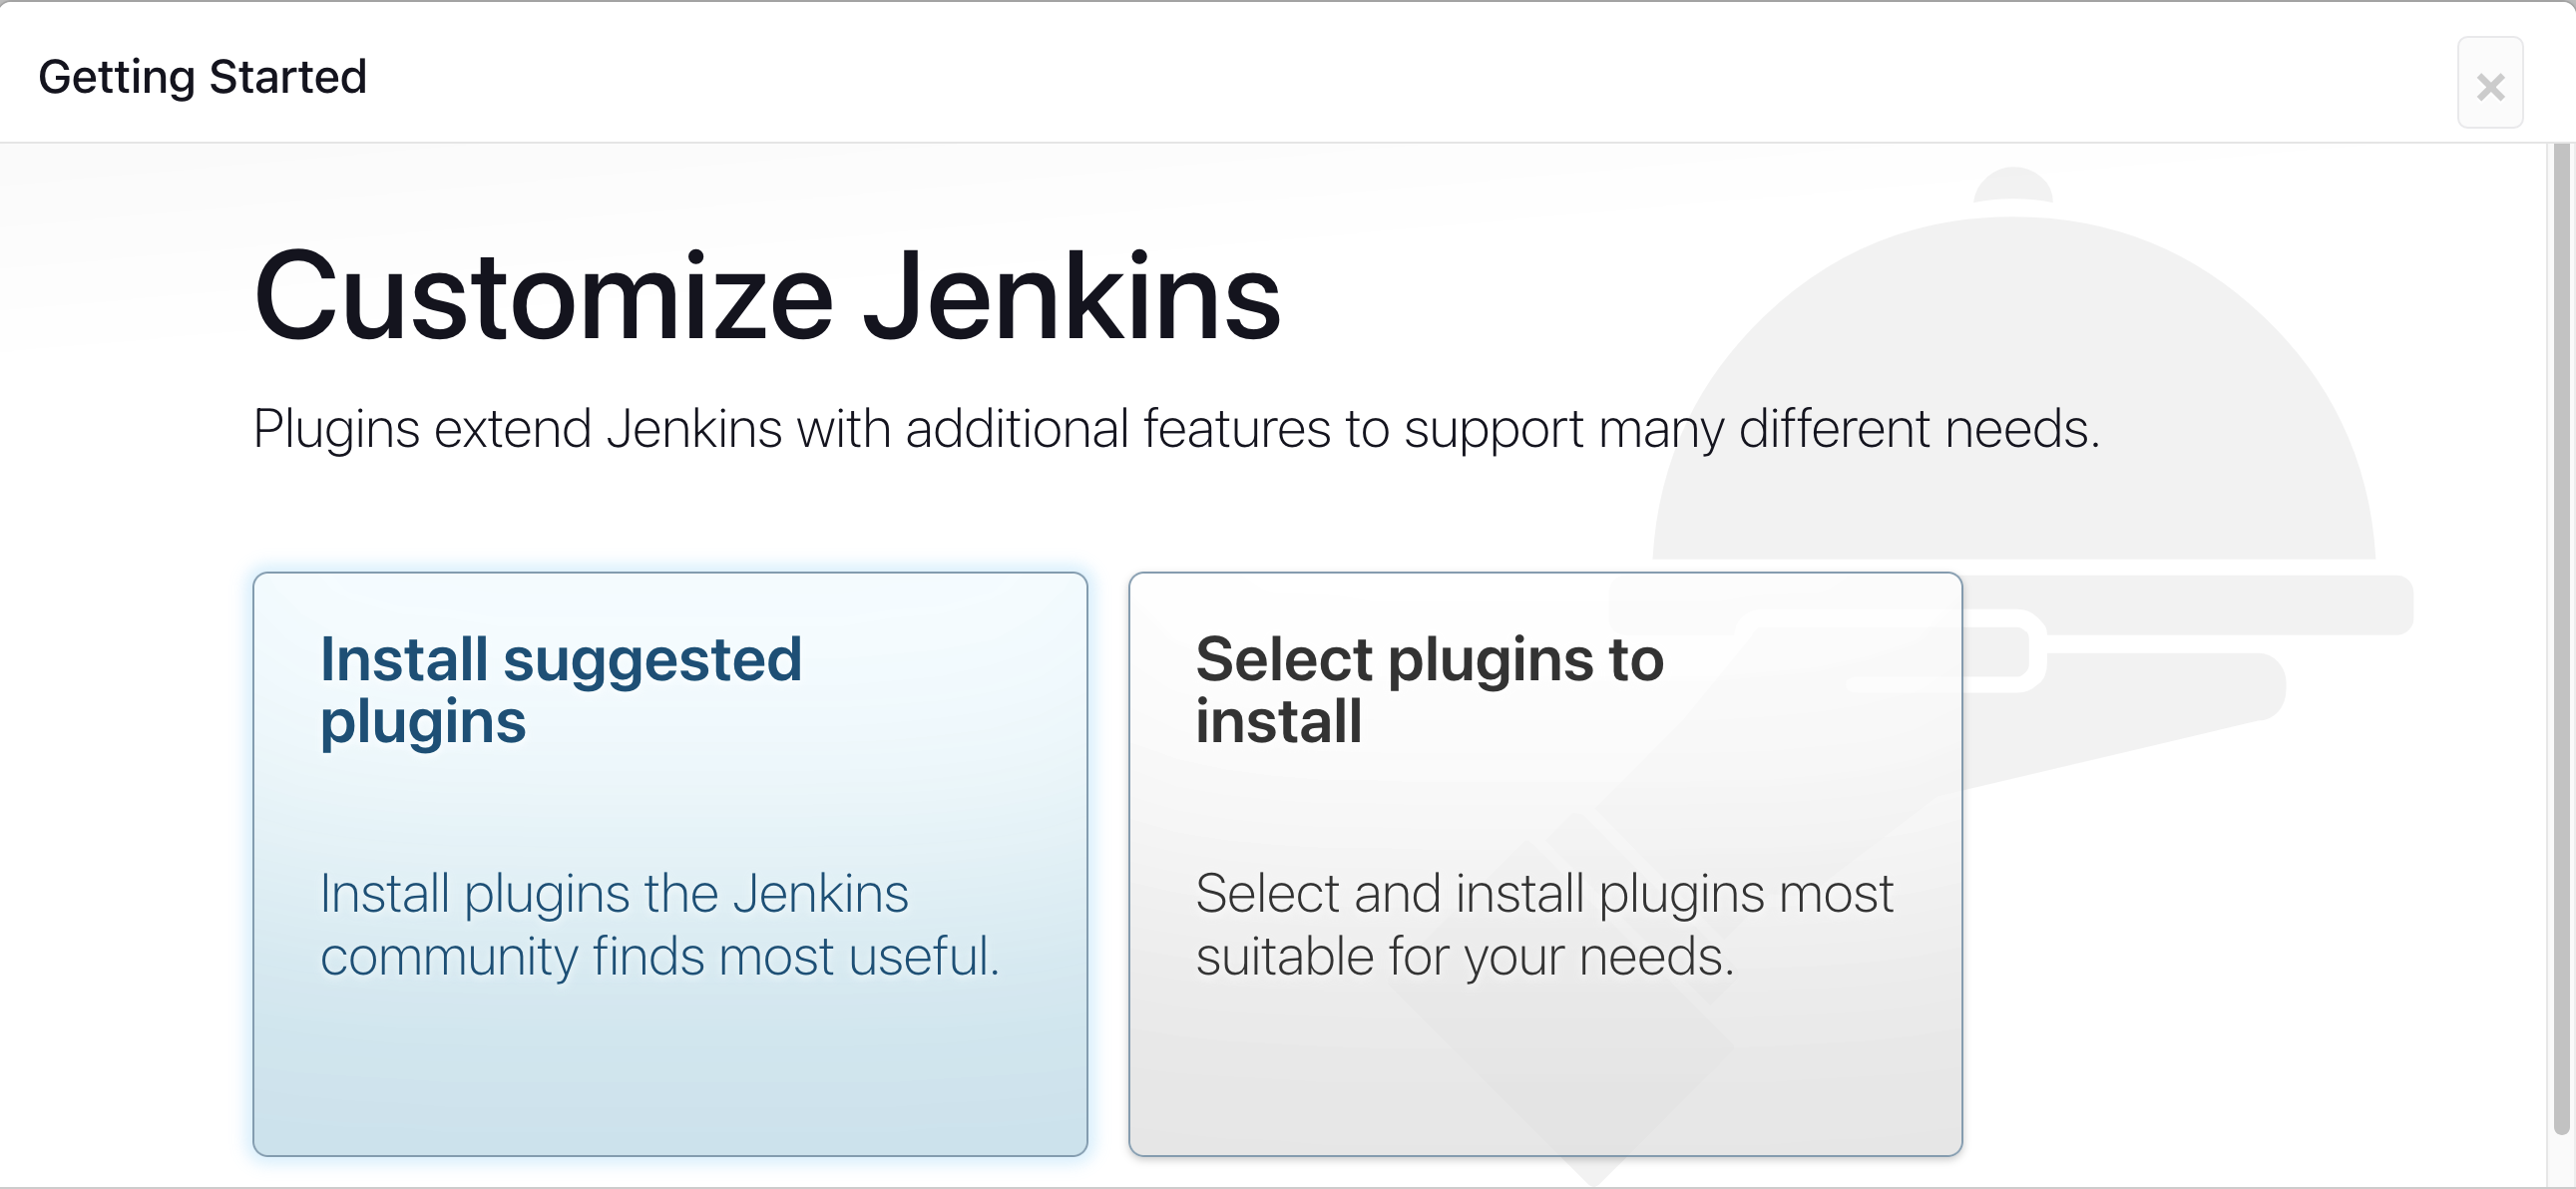
Click on Install suggested plugins
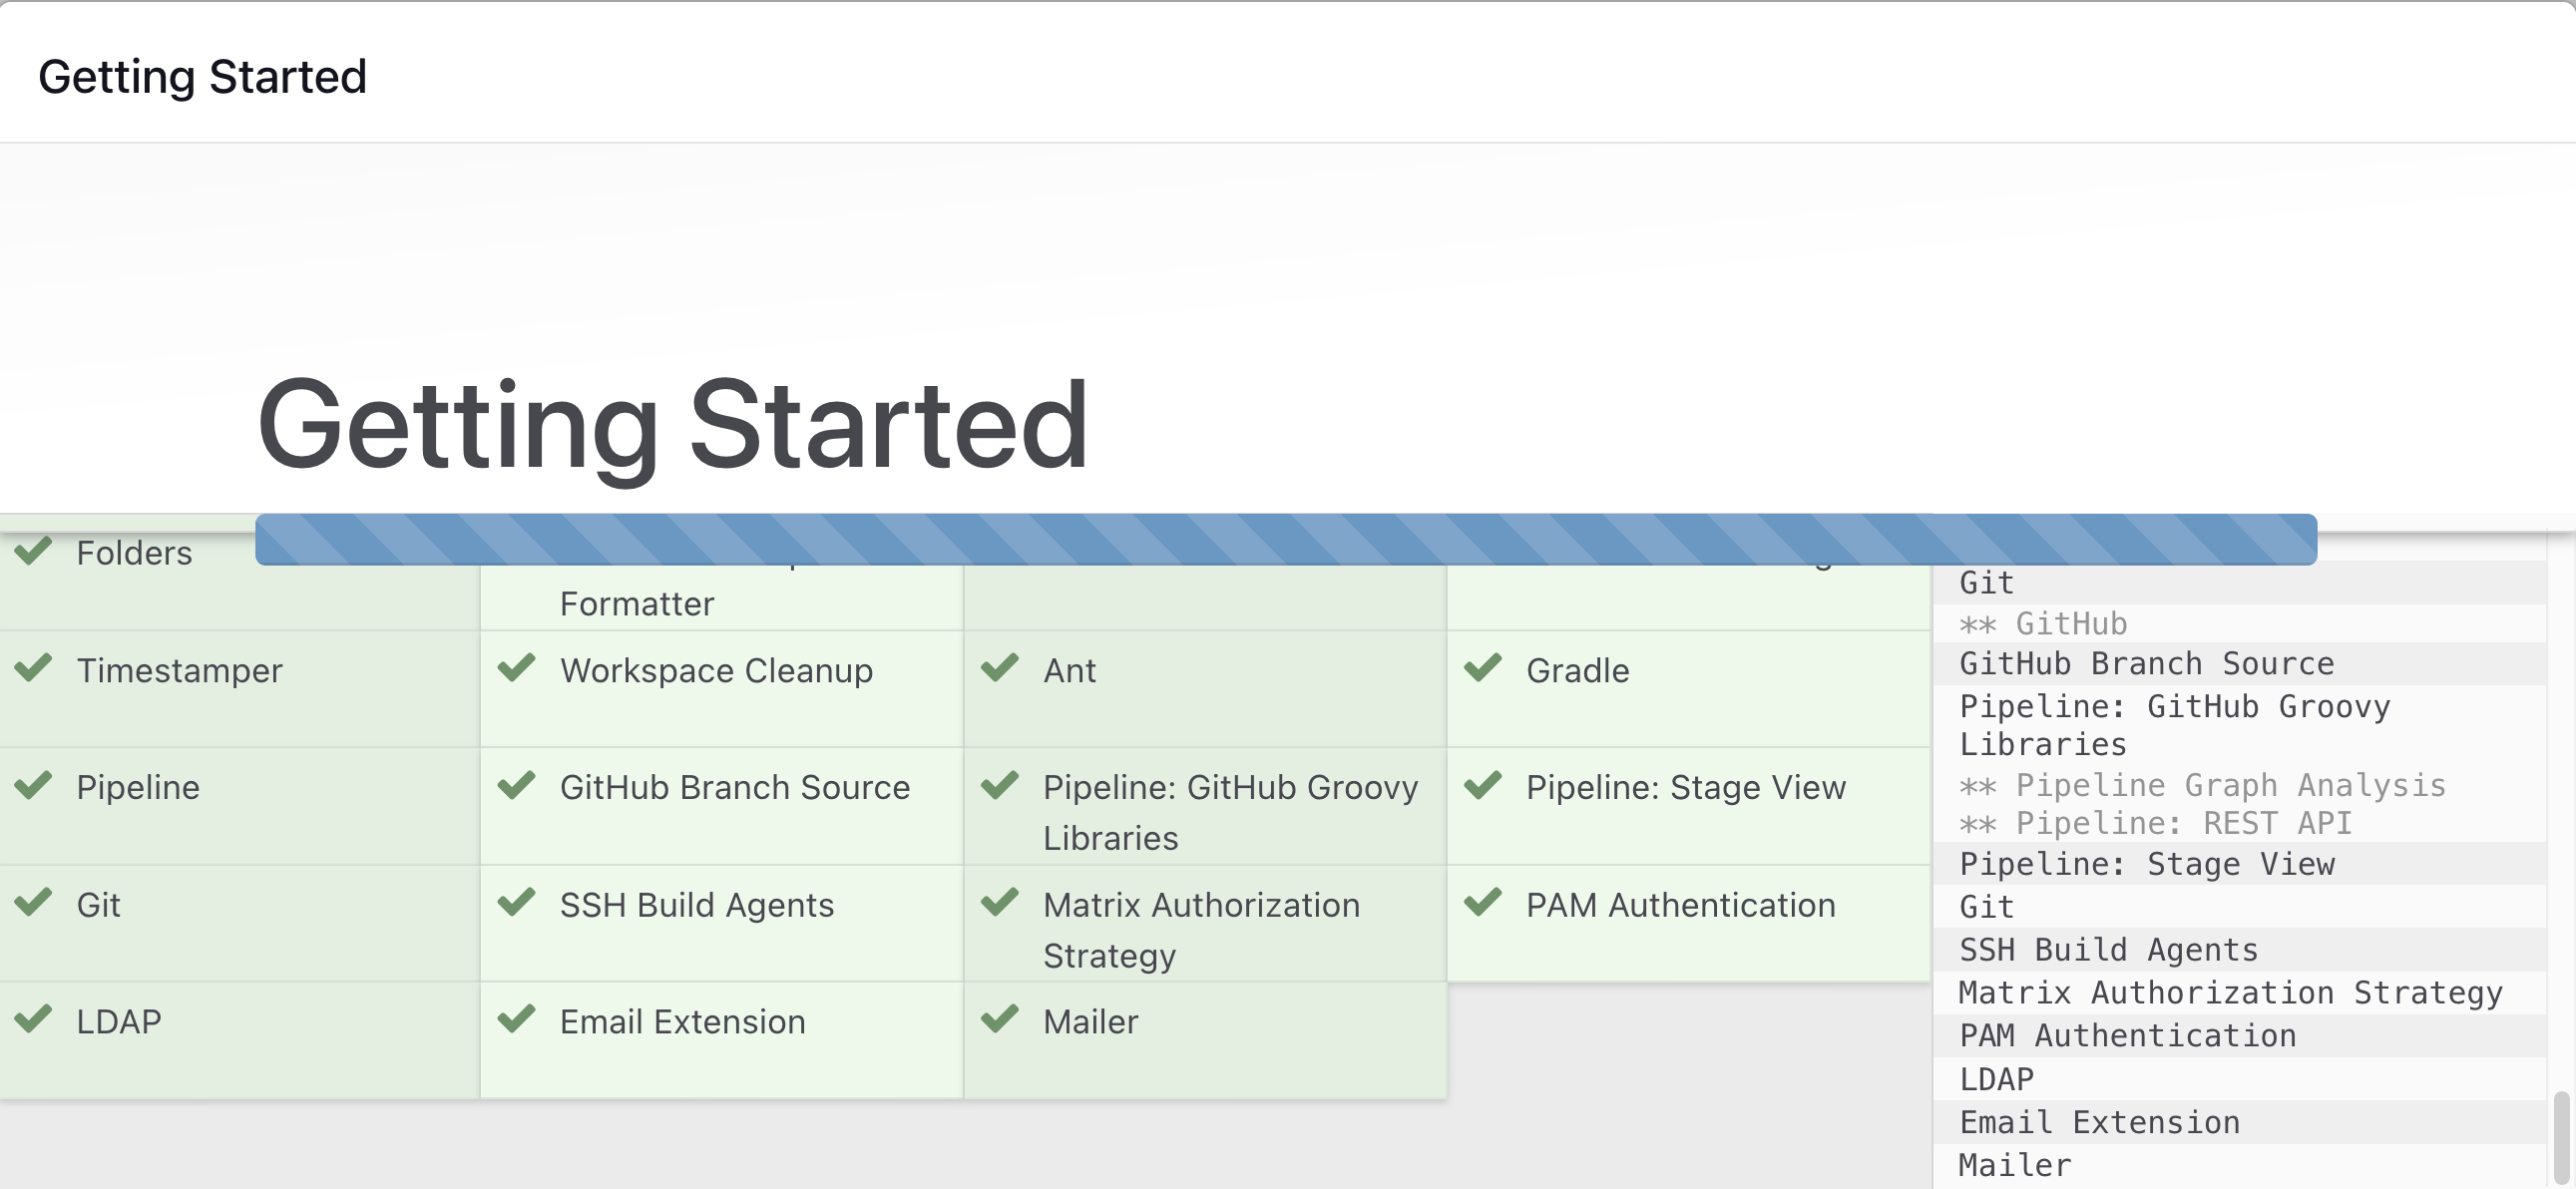
Wait for the Jenkins to Install suggested plugins
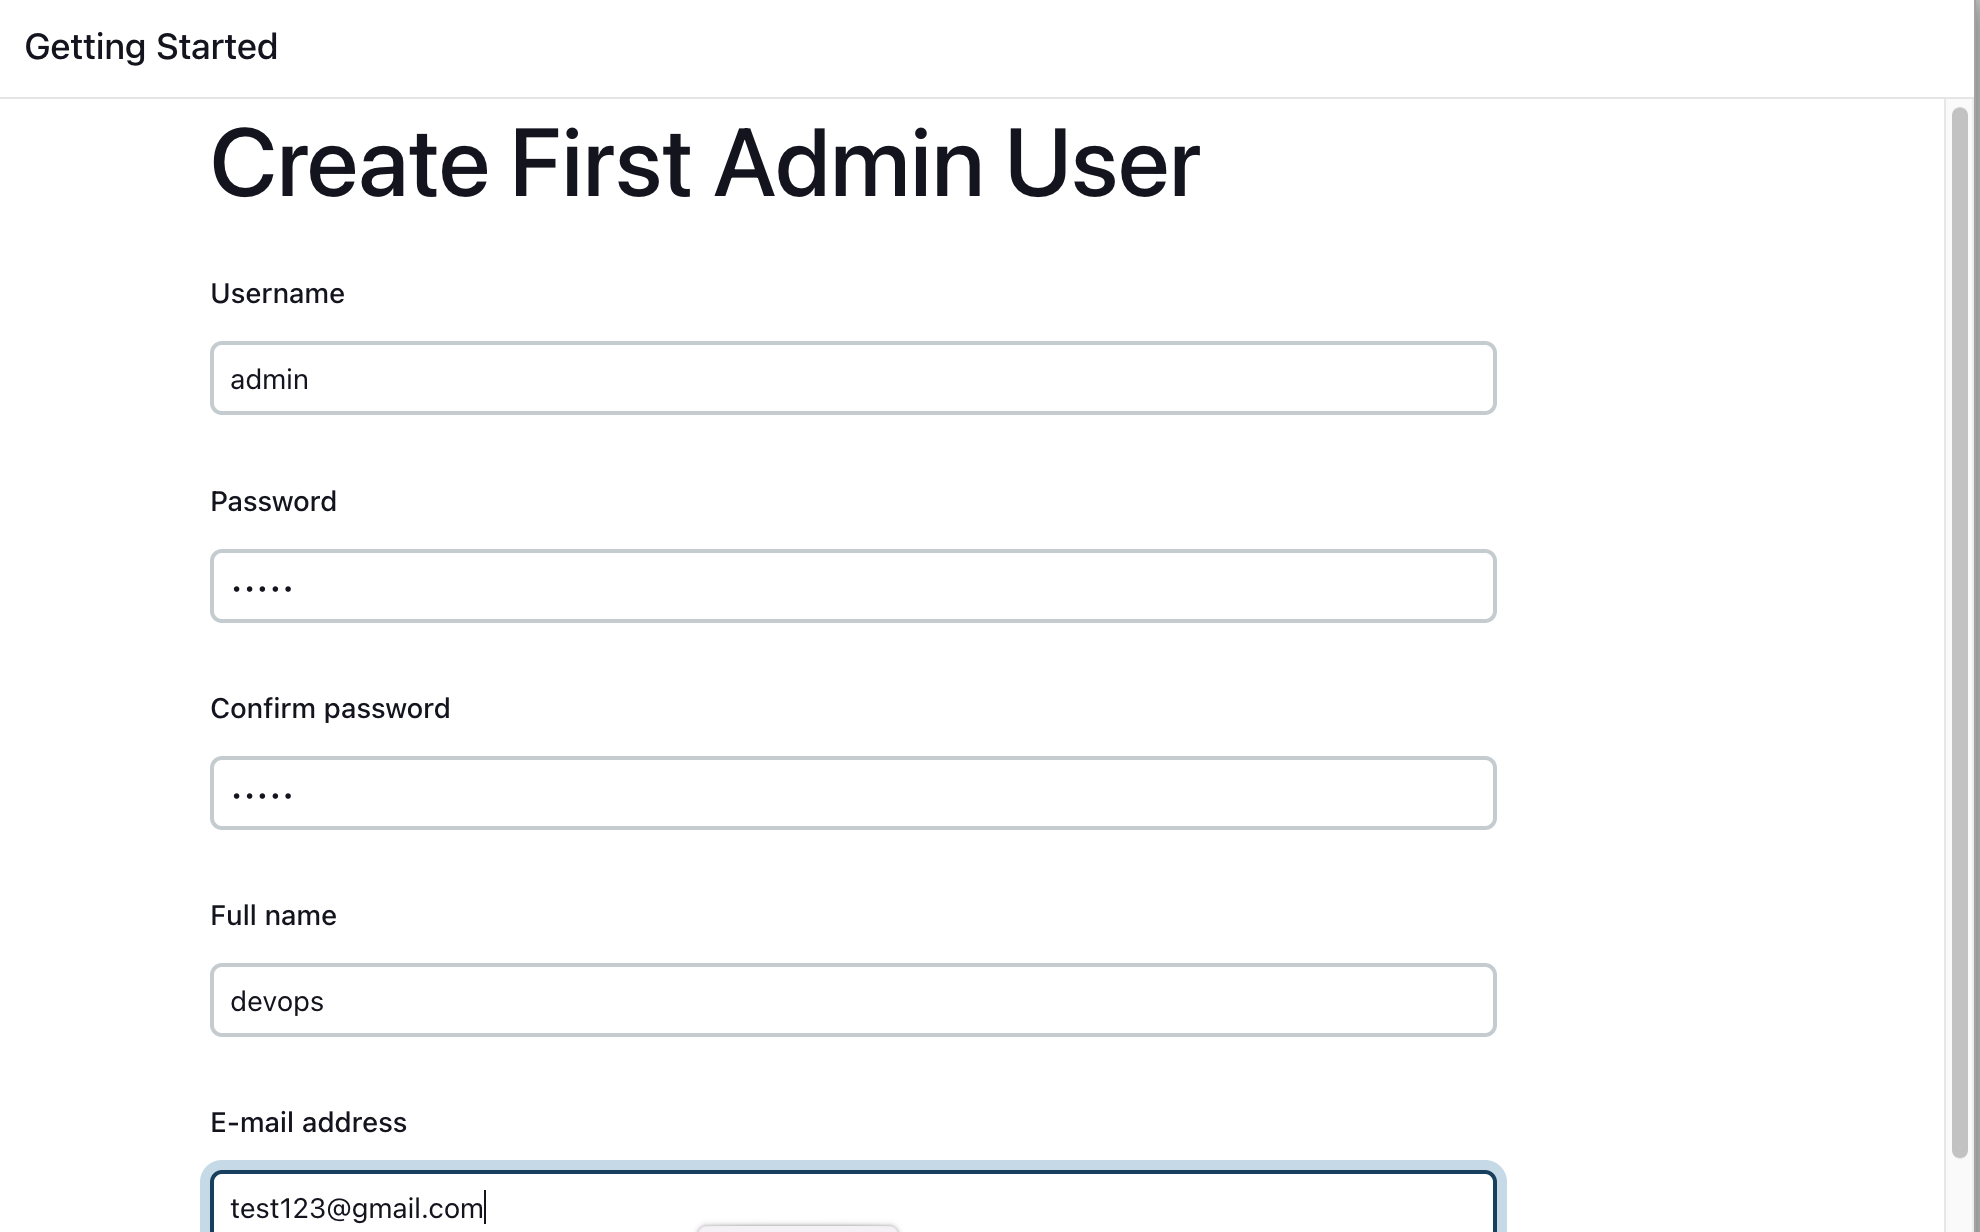
Create First Admin User or Skip the step [If you want to use this Jenkins instance for future use-cases as well, better to create admin user]
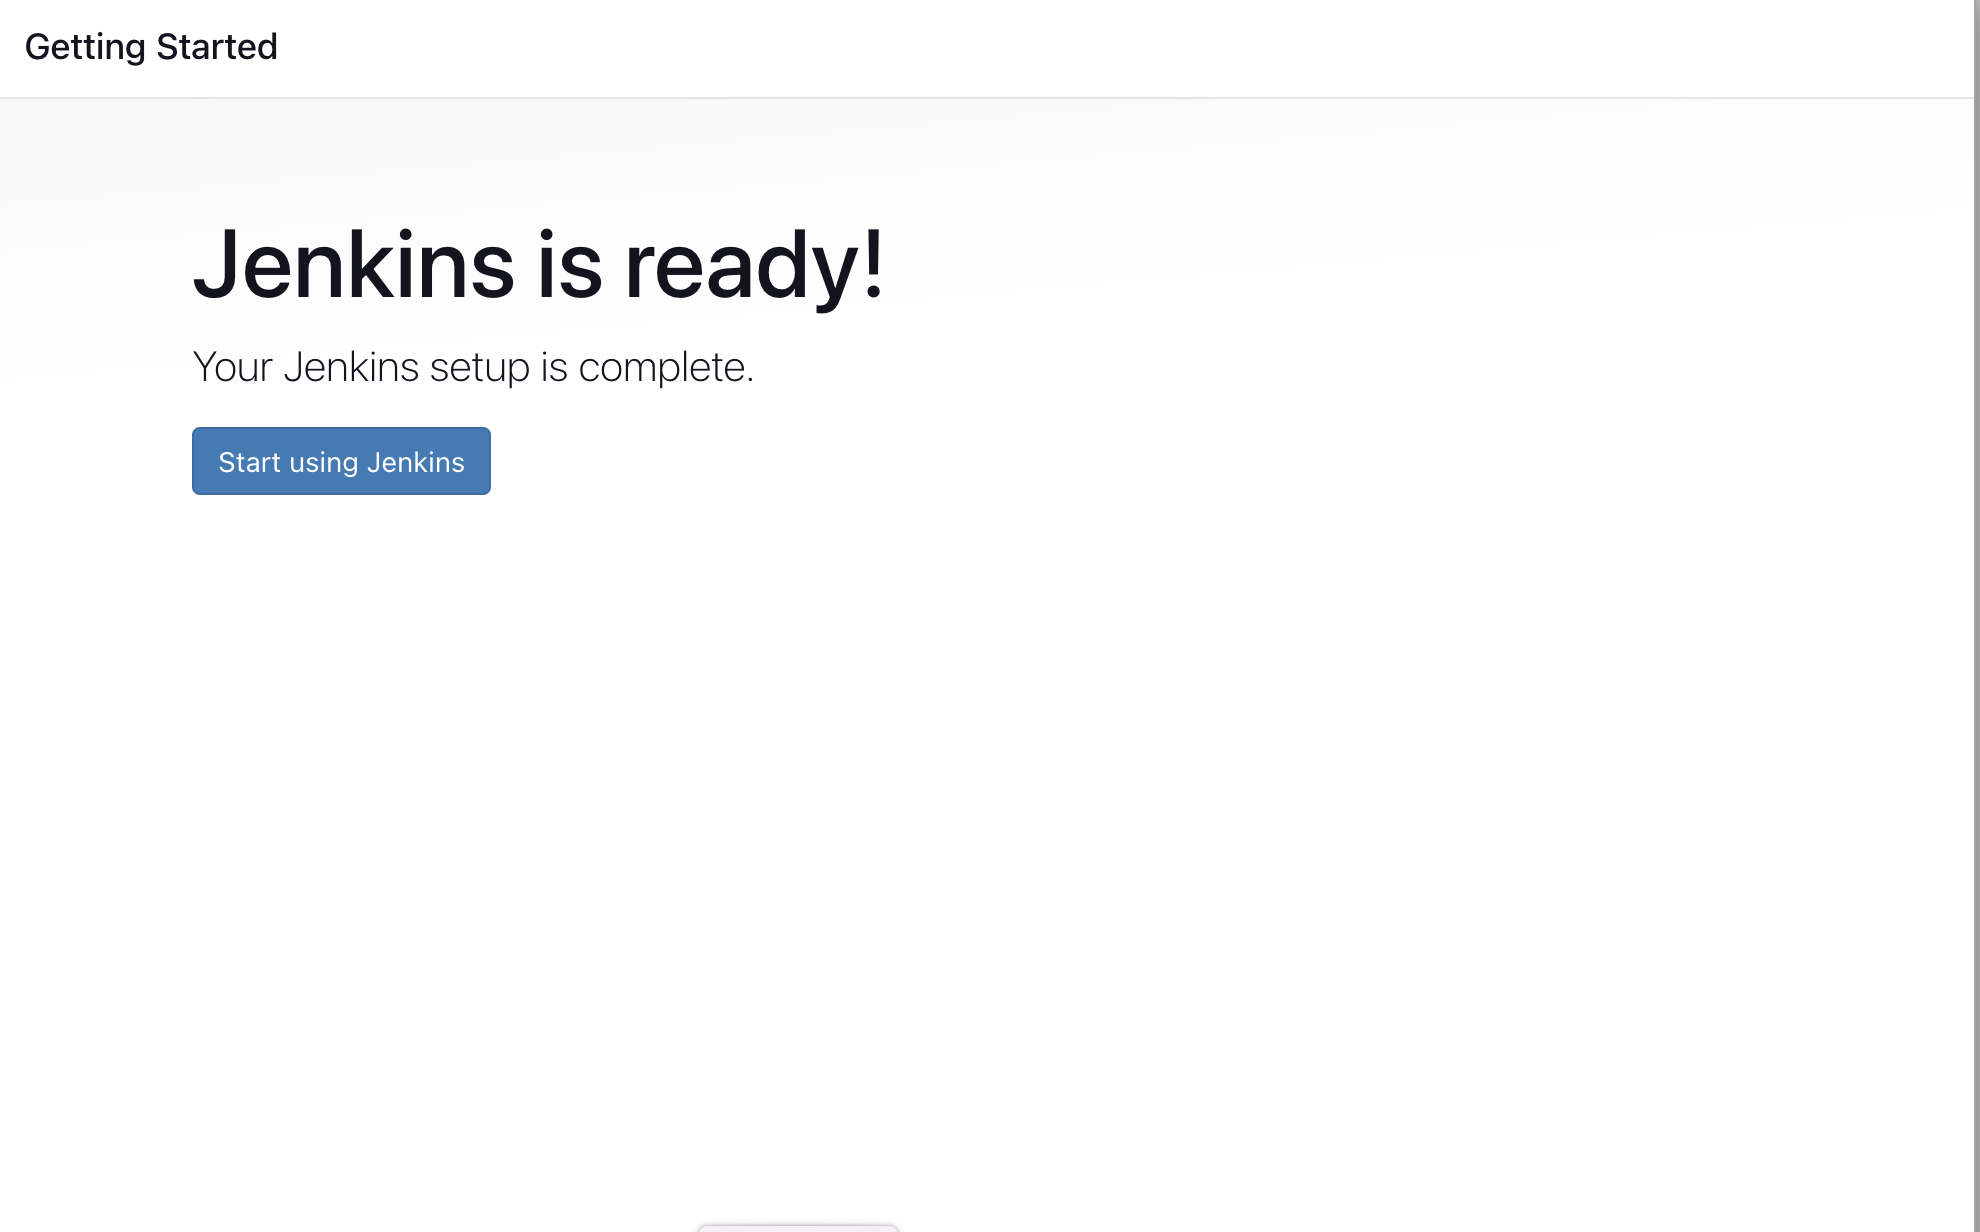
Jenkins Installation is Successful. You can now starting using the Jenkins
Step 4: Installing Docker:
If you're planning to use Docker in your CI/CD pipeline, you can install it on your EC2 instance using the following commands:
COPY
sudo apt update
sudo apt install docker.io
sudo usermod -aG docker jenkins
Restart Jenkins for the changes to take effect.
To restart Jenkins, you can use the following script:
sudo systemctl restart jenkins
Step 5: Installing Plugins :
You can install Jenkins plugins either through the Jenkins web interface or by using the Jenkins CLI.
NodeJS Plugin:
OWASP Dependency Check Plugin:
Docker Plugin:
Docker Pipeline Plugin:
Docker Build Step Plugin:
After installing the plugins, Jenkins may require a restart for the changes to take effect. You can use the script mentioned earlier (sudo systemctl restart jenkins) to restart Jenkins or restart it from the web interface if prompted.
Once restarted, the installed plugins should be available for use in your Jenkins pipeline jobs.
Step 6: Configure Tools
Configuring the tools in Jenkins typically involves specifying the paths or versions of the tools you want Jenkins to use. Here's how you can configure the tools we've installed:
NodeJS Plugin:
Navigate to your Jenkins dashboard.
Click on "Manage Jenkins" from the left sidebar.
Select "Global Tool Configuration" from the dropdown menu.
Scroll down to the "NodeJS" section.
Click on "Add NodeJS".
Enter a name for this NodeJS installation (e.g., "NodeJS 14").
Specify the NodeJS installation method. You can choose to install automatically or specify a custom NodeJS installation path.
Click on "Save" to apply the changes.
OWASP Dependency Check Plugin:
- There is typically no specific configuration required for this plugin. It automatically downloads the OWASP Dependency Check tool during the build process.
Docker Plugin:
Navigate to "Manage Jenkins" > "Global Tool Configuration".
Scroll down to the "Docker" section.
Click on "Add Docker".
Enter a name for this Docker installation (e.g., "Docker").
Specify the Docker installation method. You can choose to install automatically or specify a custom Docker installation path.
Click on "Save" to apply the changes.
Docker Pipeline Plugin and Docker Build Step Plugin:
- There is typically no specific configuration required for these plugins. They automatically use the Docker installation specified in the global tool configuration.
Once you've configured the tools, they will be available for use in your Jenkins pipeline jobs. You can specify which tool versions to use in your pipeline scripts or Jenkins job configurations. If you encounter any issues during the configuration process, refer to the documentation for each plugin for more detailed instructions.
Step 7: Build a Pipeline Job
To create a pipeline job and write a Groovy script to run your pipeline, follow these steps:
Create a New Pipeline Job:
Log in to your Jenkins instance.
Click on "New Item" on the Jenkins dashboard.
Enter a name for your job (e.g., "NodeJS Pipeline").
Select "Pipeline" as the job type.
Click "OK" to create the job.
Write Pipeline Syntax:
In the job configuration page, scroll down to the "Pipeline" section.
Select "Pipeline script" as the Definition.
In the Script text area, write your pipeline syntax directly. This includes defining stages, steps, and any other configurations.
Ensure that your syntax is correctly formatted and follows the Groovy syntax rules for Jenkins pipelines.
GIT Repository URL :- https://github.com/Shubham-Stunner/basic_nodejs_webpage.git
Here is the Jenkinsfile for the Project
  pipeline {
      agent any

      tools{
          nodejs 'nodejs-1'
      }

      stages {
          stage('GIT CHECKOUT') {
              steps {
                  git branch: 'main', changelog: false, poll: false, url: 'https://github.com/Shubham-Stunner/basic_nodejs_webpage.git'
              }
          }

          stage('Intall Dependencies') {
              steps {
                 sh "npm install"
              }
          }

          stage('OWASP Dependency Check') {
              steps {
                 dependencyCheck additionalArguments: '--scan ./', odcInstallation: 'dc'
                  dependencyCheckPublisher pattern: '**/dependency-check-report.xml'
              }
          }

          stage('Docker build and Push') {
              steps {
                  script{
                      withDockerRegistry(credentialsId: 'docker-new', toolName: 'docker') {
                          sh "docker build -t demonodejs ."
                          sh "docker tag demonodejs stunnershubham/nodejs:latest"
                          sh "docker push stunnershubham/nodejs:latest"

                      }
                  }

              }
          }

          stage('Docker Deploy') {
              steps {
                  script{
                      withDockerRegistry(credentialsId: 'docker-new', toolName: 'docker') {
                          sh "docker run -d --name latestnode -p 8081:8081 stunnershubham/nodejs:latest"

                      }
                  }

              }
          }
      }
  }
Configure Tools in Jenkins (Optional):
- If your pipeline script references specific tools or installations (e.g., NodeJS), you can configure them in Jenkins using the "Global Tool Configuration" as mentioned earlier.
Save the Job Configuration:
- Once you have written your pipeline syntax, click "Save" to save the job configuration.
Run the Pipeline:
After saving the job configuration, you can manually trigger a build of the pipeline by clicking on "Build Now" on the job dashboard.
Jenkins will execute the pipeline according to the defined stages and steps in your script.
By writing the pipeline syntax directly in Jenkins, you have full control over the pipeline configuration without relying on a separate source control system. However, keep in mind that managing and versioning the pipeline script becomes more challenging compared to storing it in a version control repository.
Your pipeline is now live! This marks a significant step in your DevOps journey, streamlining the deployment of your Node.js app with automated testing, security checks, and Docker containerization. With CI/CD in place, you're set to deliver updates faster, enhance collaboration, and drive innovation. Keep up the great work!
I believe this blog will offer some value, providing unique insights and sharing new and engaging ideas. 🙏
😊 Your support means a lot, so stay tuned for more!
Happy Learning 😊
